How to Organize Your Family Photos


 Hey friends! This post about How to Organize Your Family Photos is one that I’ve been wanting to share for a while. As a photographer and a mom, you can imagine that almost 100% of my life is spent behind a camera and/or in front of my family. Over the years, I’ve researched and talked to other photographers about how to keep up with the management and printing of personal photos so that they don’t just sit untouched on a hard drive forever! Over the past couple years, I’ve finally figured out a system that seamlessly and consistently works well for me. I can’t tell you how many times I’ve heard other photographers talk about not having enough time to work on personal photos, and trust me, I’ve been there too! So, today I’m sharing my workflow in hopes that it will help some fellow photogs!
While this post is geared towards professional photographers (mainly because of the tools and programs I use), I’ll try to point out tidbits for non-professionals to help with your photo organization. Also, later this week I’ll be sharing my process for managing all of your phone photos! Now, that’s something I think we all have in common 🙂
Step 1 – Taking Photos!
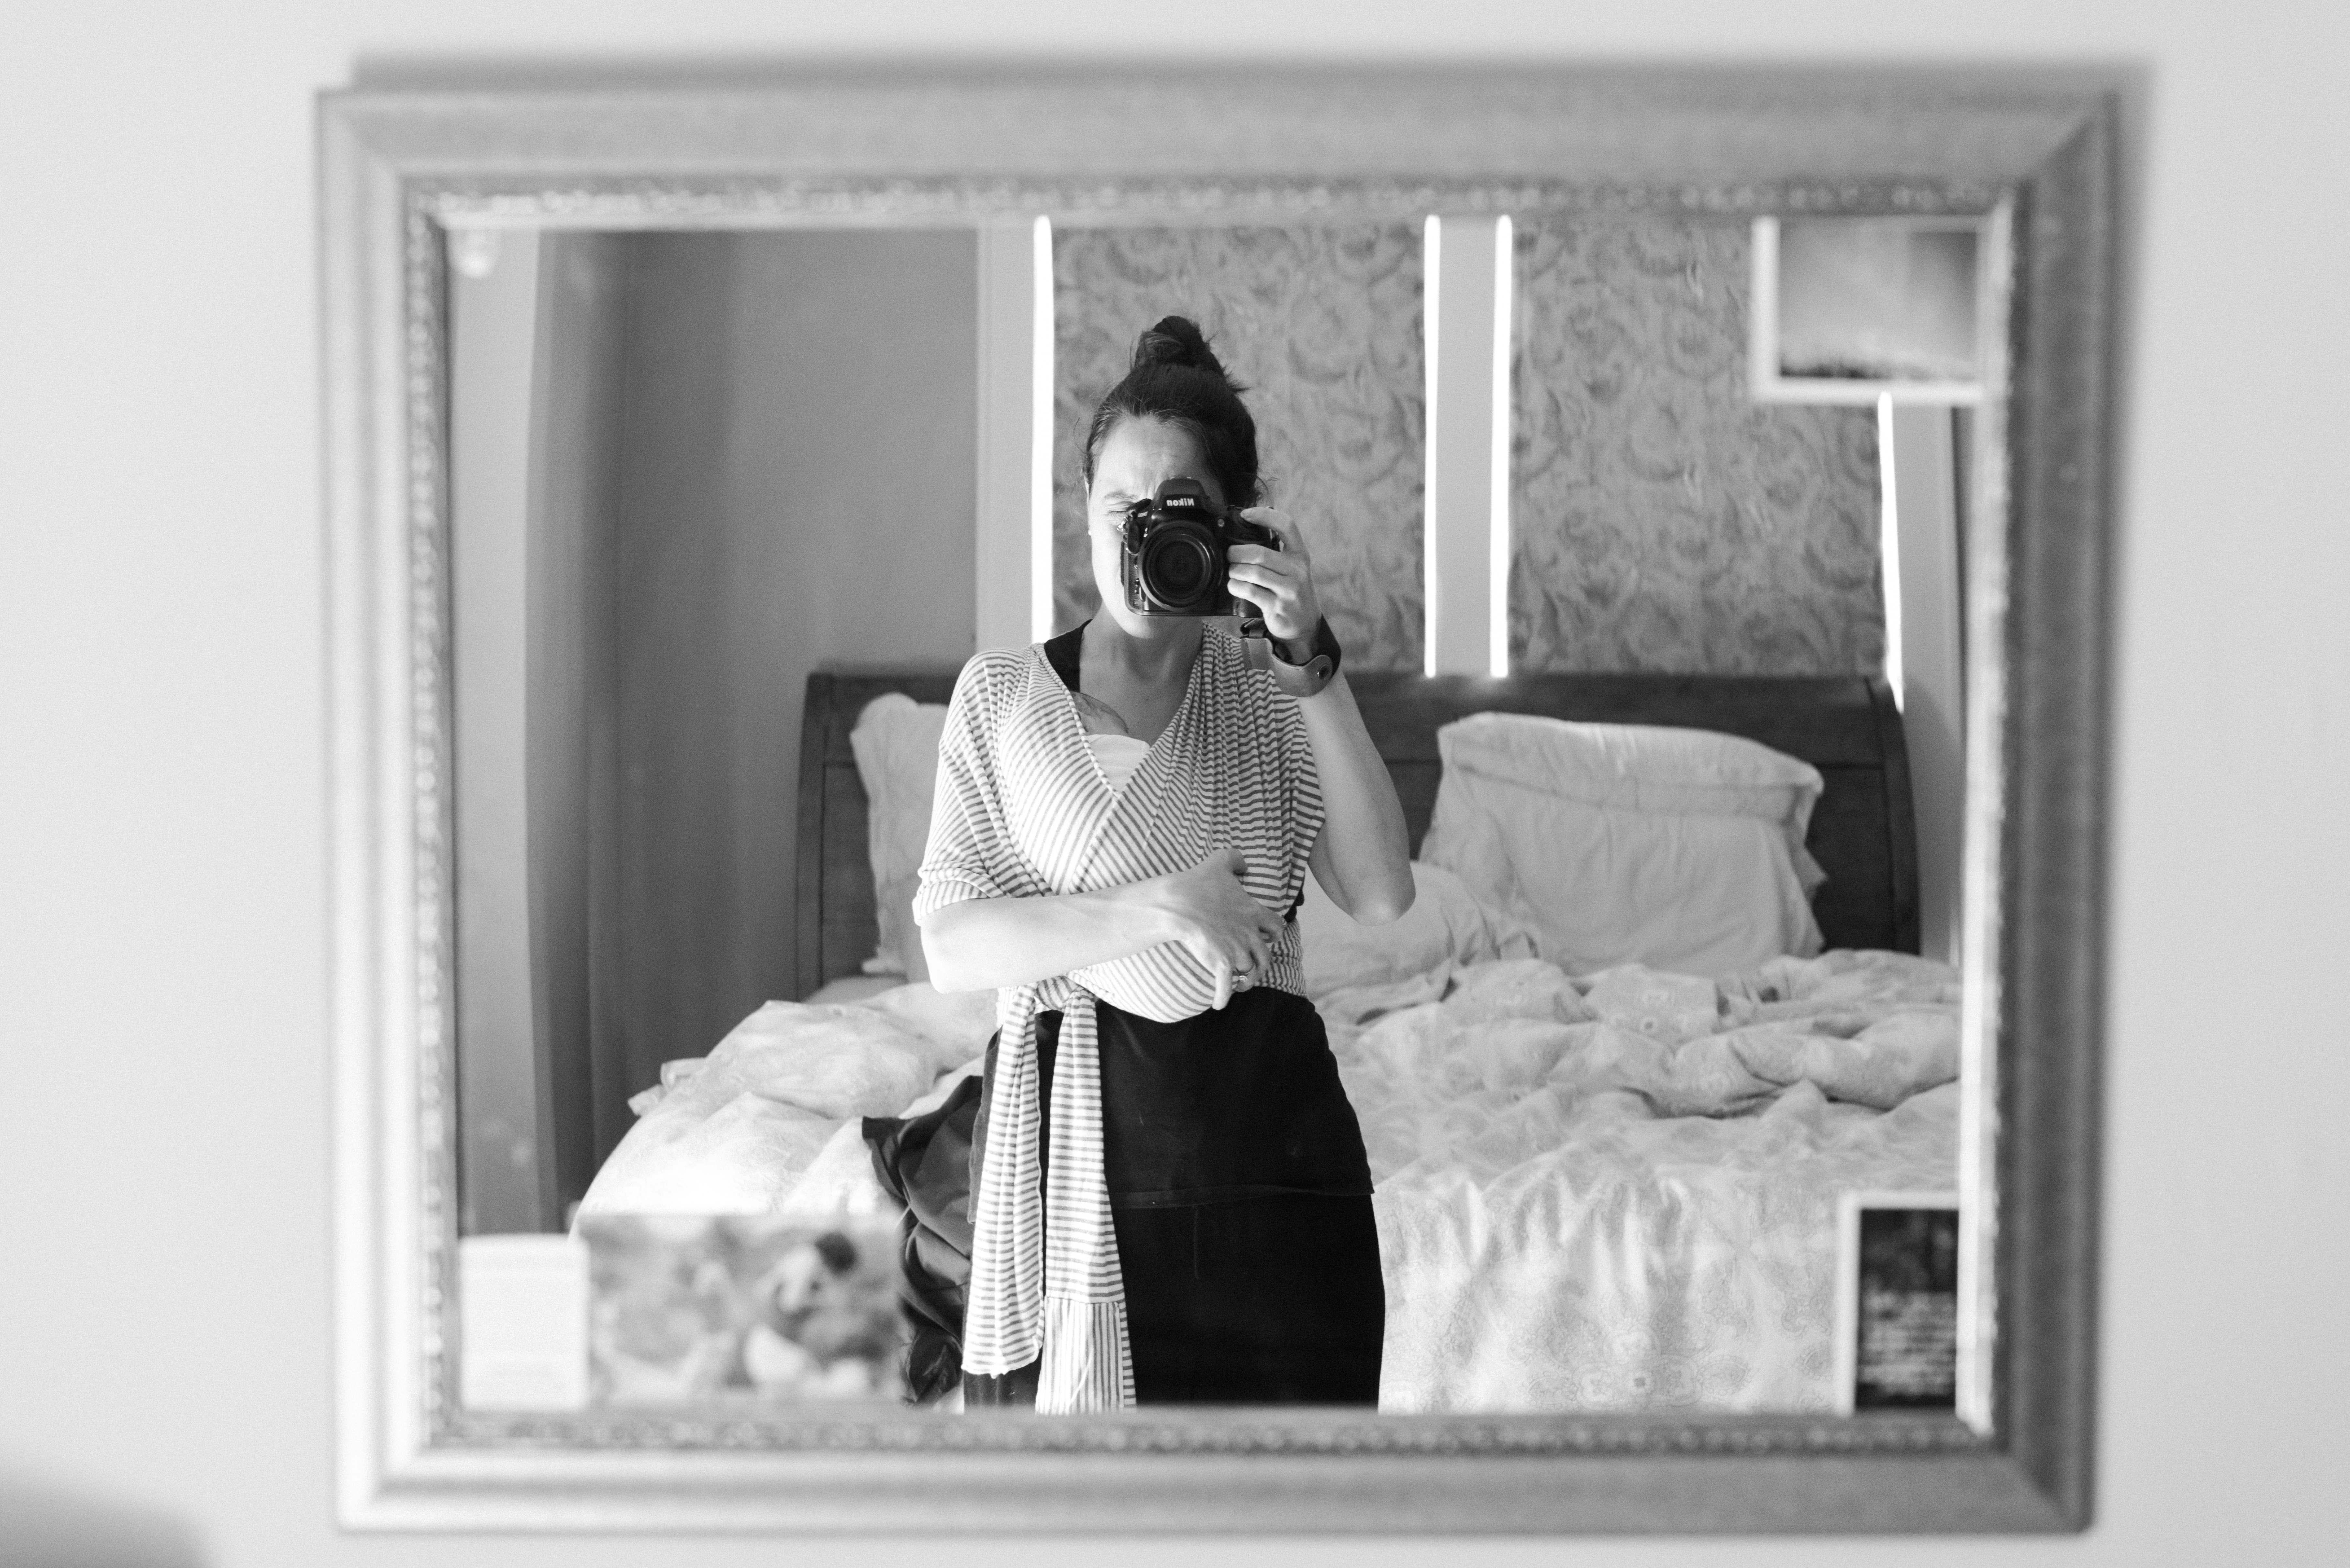
All of my personal (non-phone) photos are taken on a Nikon D800. And 99% of the time I use my favorite lens, the 50mm 1.4. I’ve had my eye on some lighter, more portable cameras for a while now so I think I’ll be adding this or this to my Christmas list this year! Non-pros, these are great options for you too!
Step 2 – File Organization
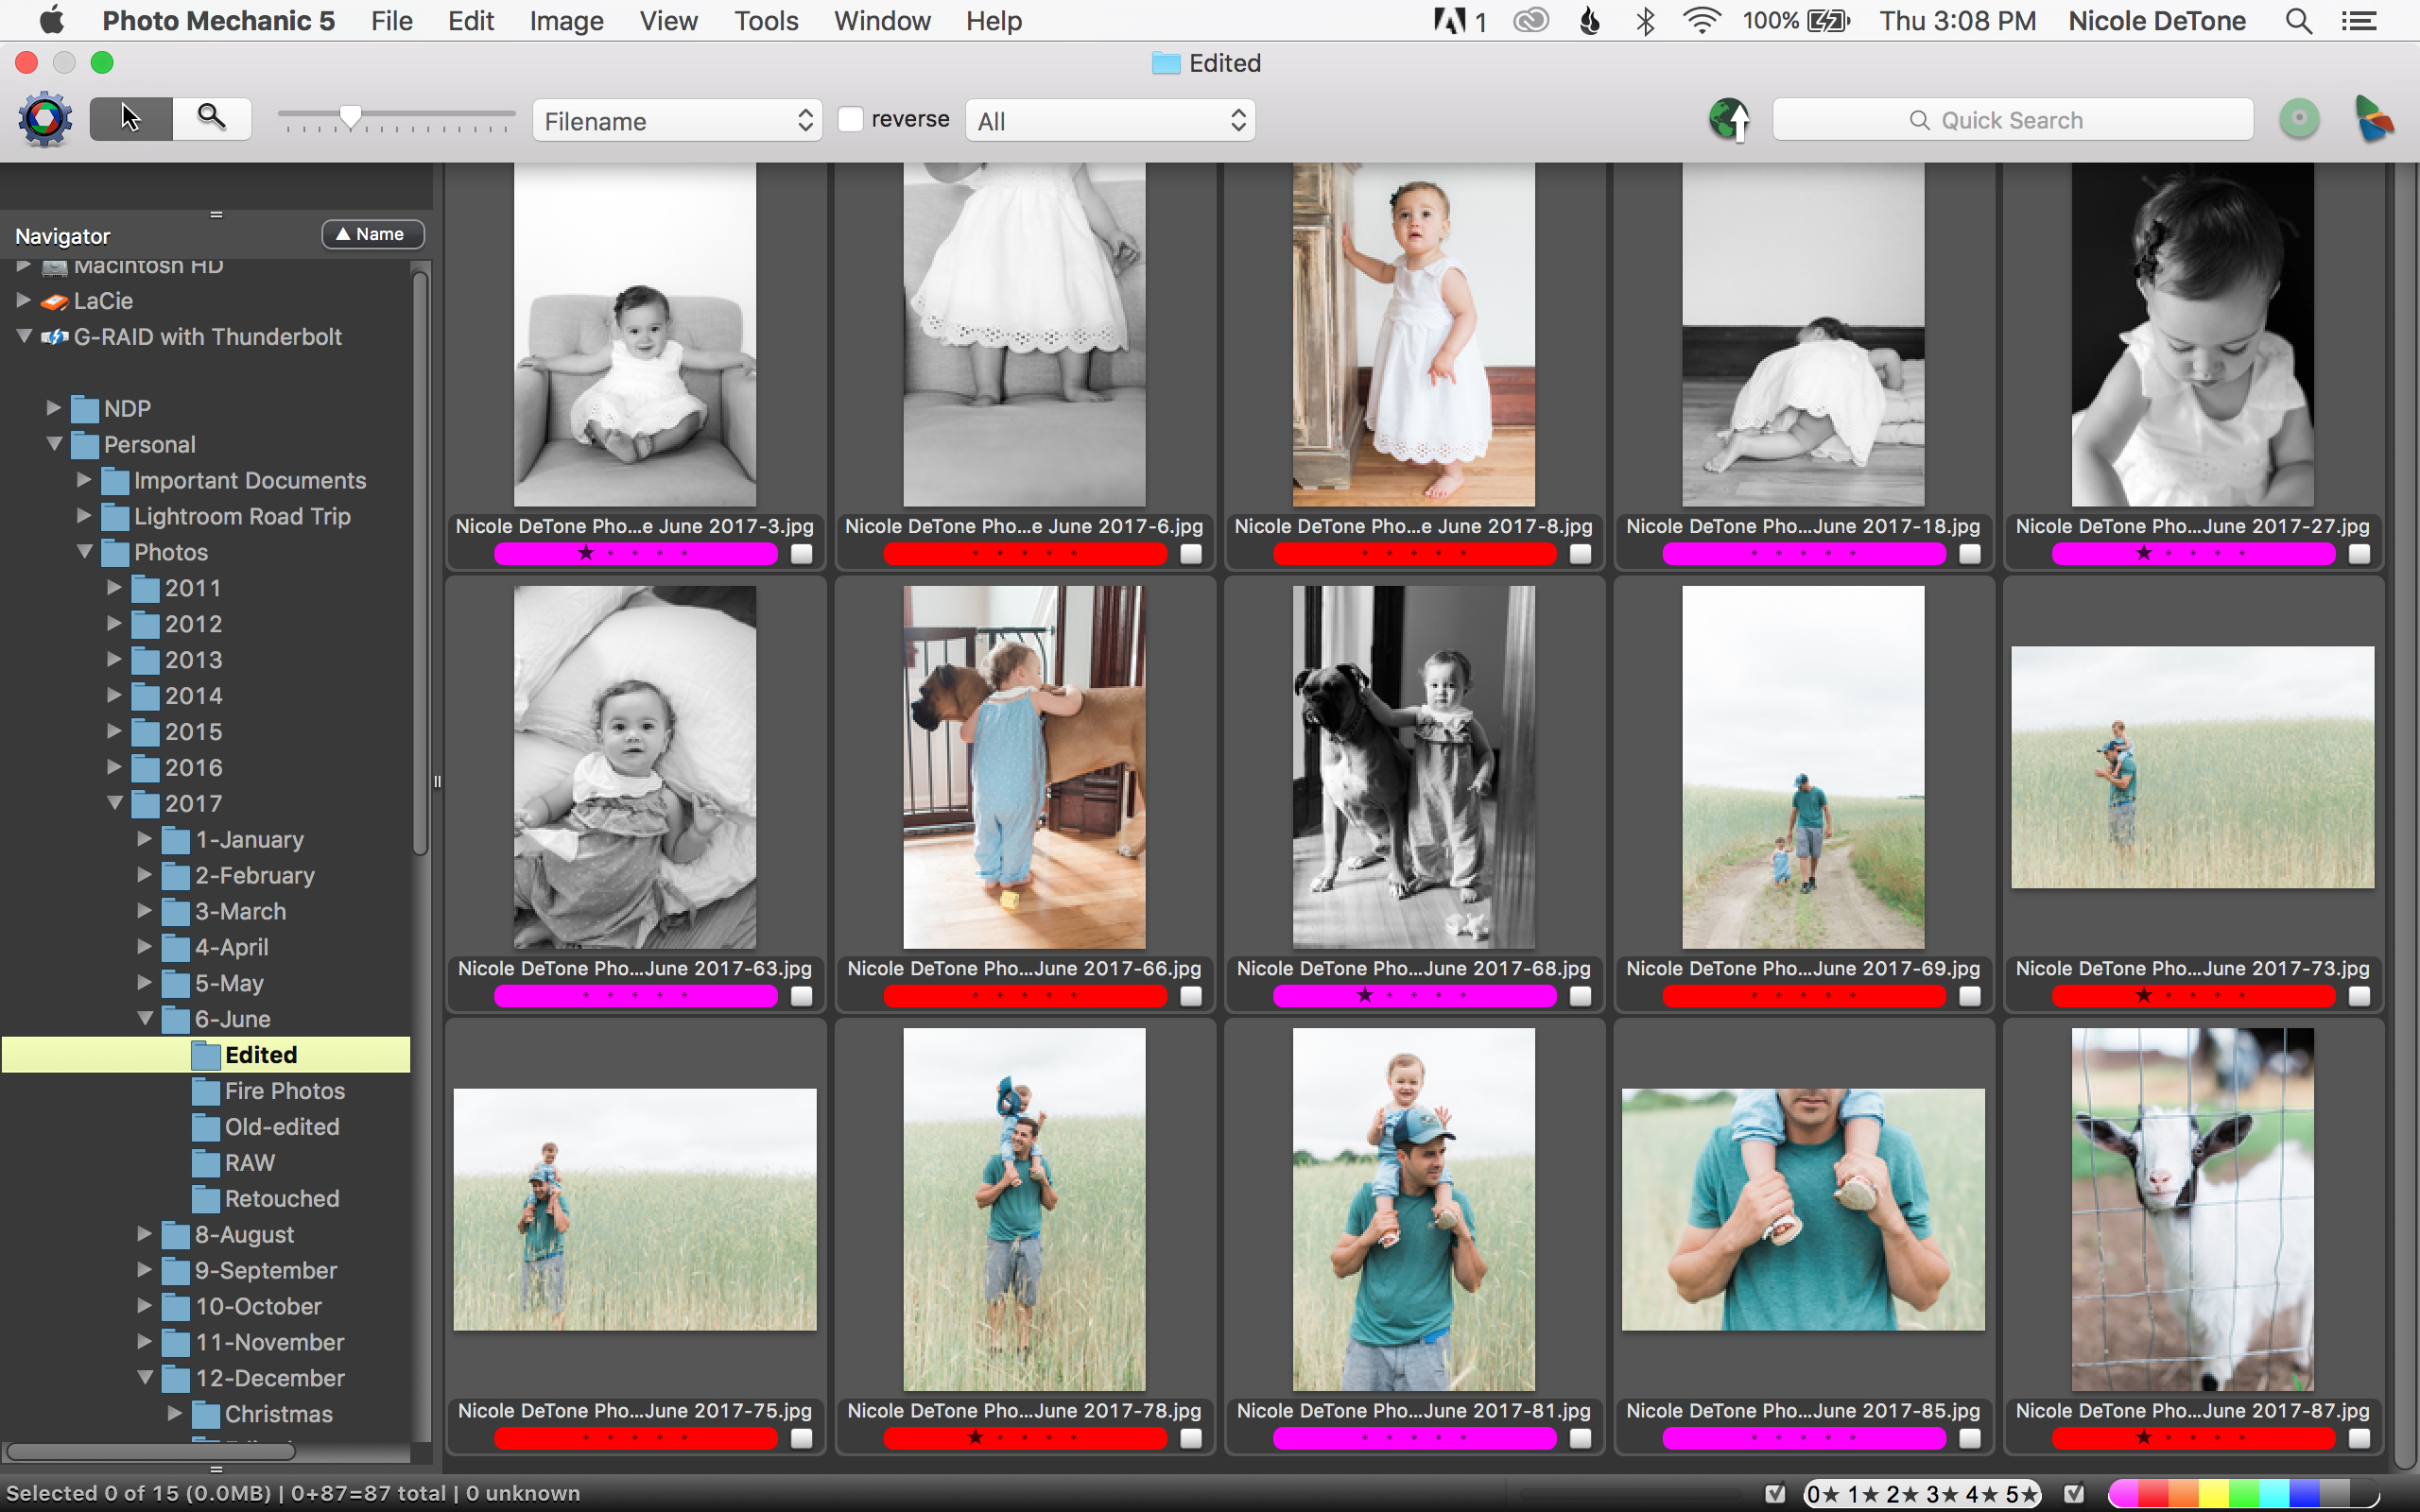
I’ve set-up a folder structure similar to my client photo filing system on a G-RAID external hard drive. Below you’ll see that personal photos are saved by Year > Month > RAW (unedited) and Edited. If there are any special events like a family trip or holiday, I create an additional subfolder to keep it separate from the day-to-day photos I’ve taken that month. My external hard drive is continuously and automatically backed up in the cloud by Backblaze so I can sleep at night knowing that my images will never be lost! Non-pros, I highly recommend creating a folder structure that is intuitive to you on an external hard drive and backing it up to the cloud for safekeeping.

Step 3 – Culling
All attempts are made to cull through my photos immediately after I’ve saved them to my hard drive. There are plenty of times (i.e. most of Wedding Season) where I don’t have spare time to go through and select photos right away, so I make it a point to carve out time once per month so that I don’t have a backlog at the end of the year. This process is made 1,000x easier by using Photo Mechanic. If you’re a professional photographer, you should be familiar with this tool. If you’re a professional photographer and you’re not familiar with Photo Mechanic, I HIGHLY recommend adding it to your workflow. It is without a doubt the most important software tool I own and I literally couldn’t do my job without it! I won’t get too far into how I use it for professional work, but for my personal work I first use PM to select the images I want to keep and edit. Through the PM interface, I open that month’s RAW images saved on my hard drive. As I scroll through the images, I label the definite keepers pink (keystroke #1) and the secondary keepers red (keystroke #2). The pink images are the first ones I bring into Lightroom for immediate editing and the red images are brought into Lightroom next but may not be edited until a later date.
Step 4 – Editing
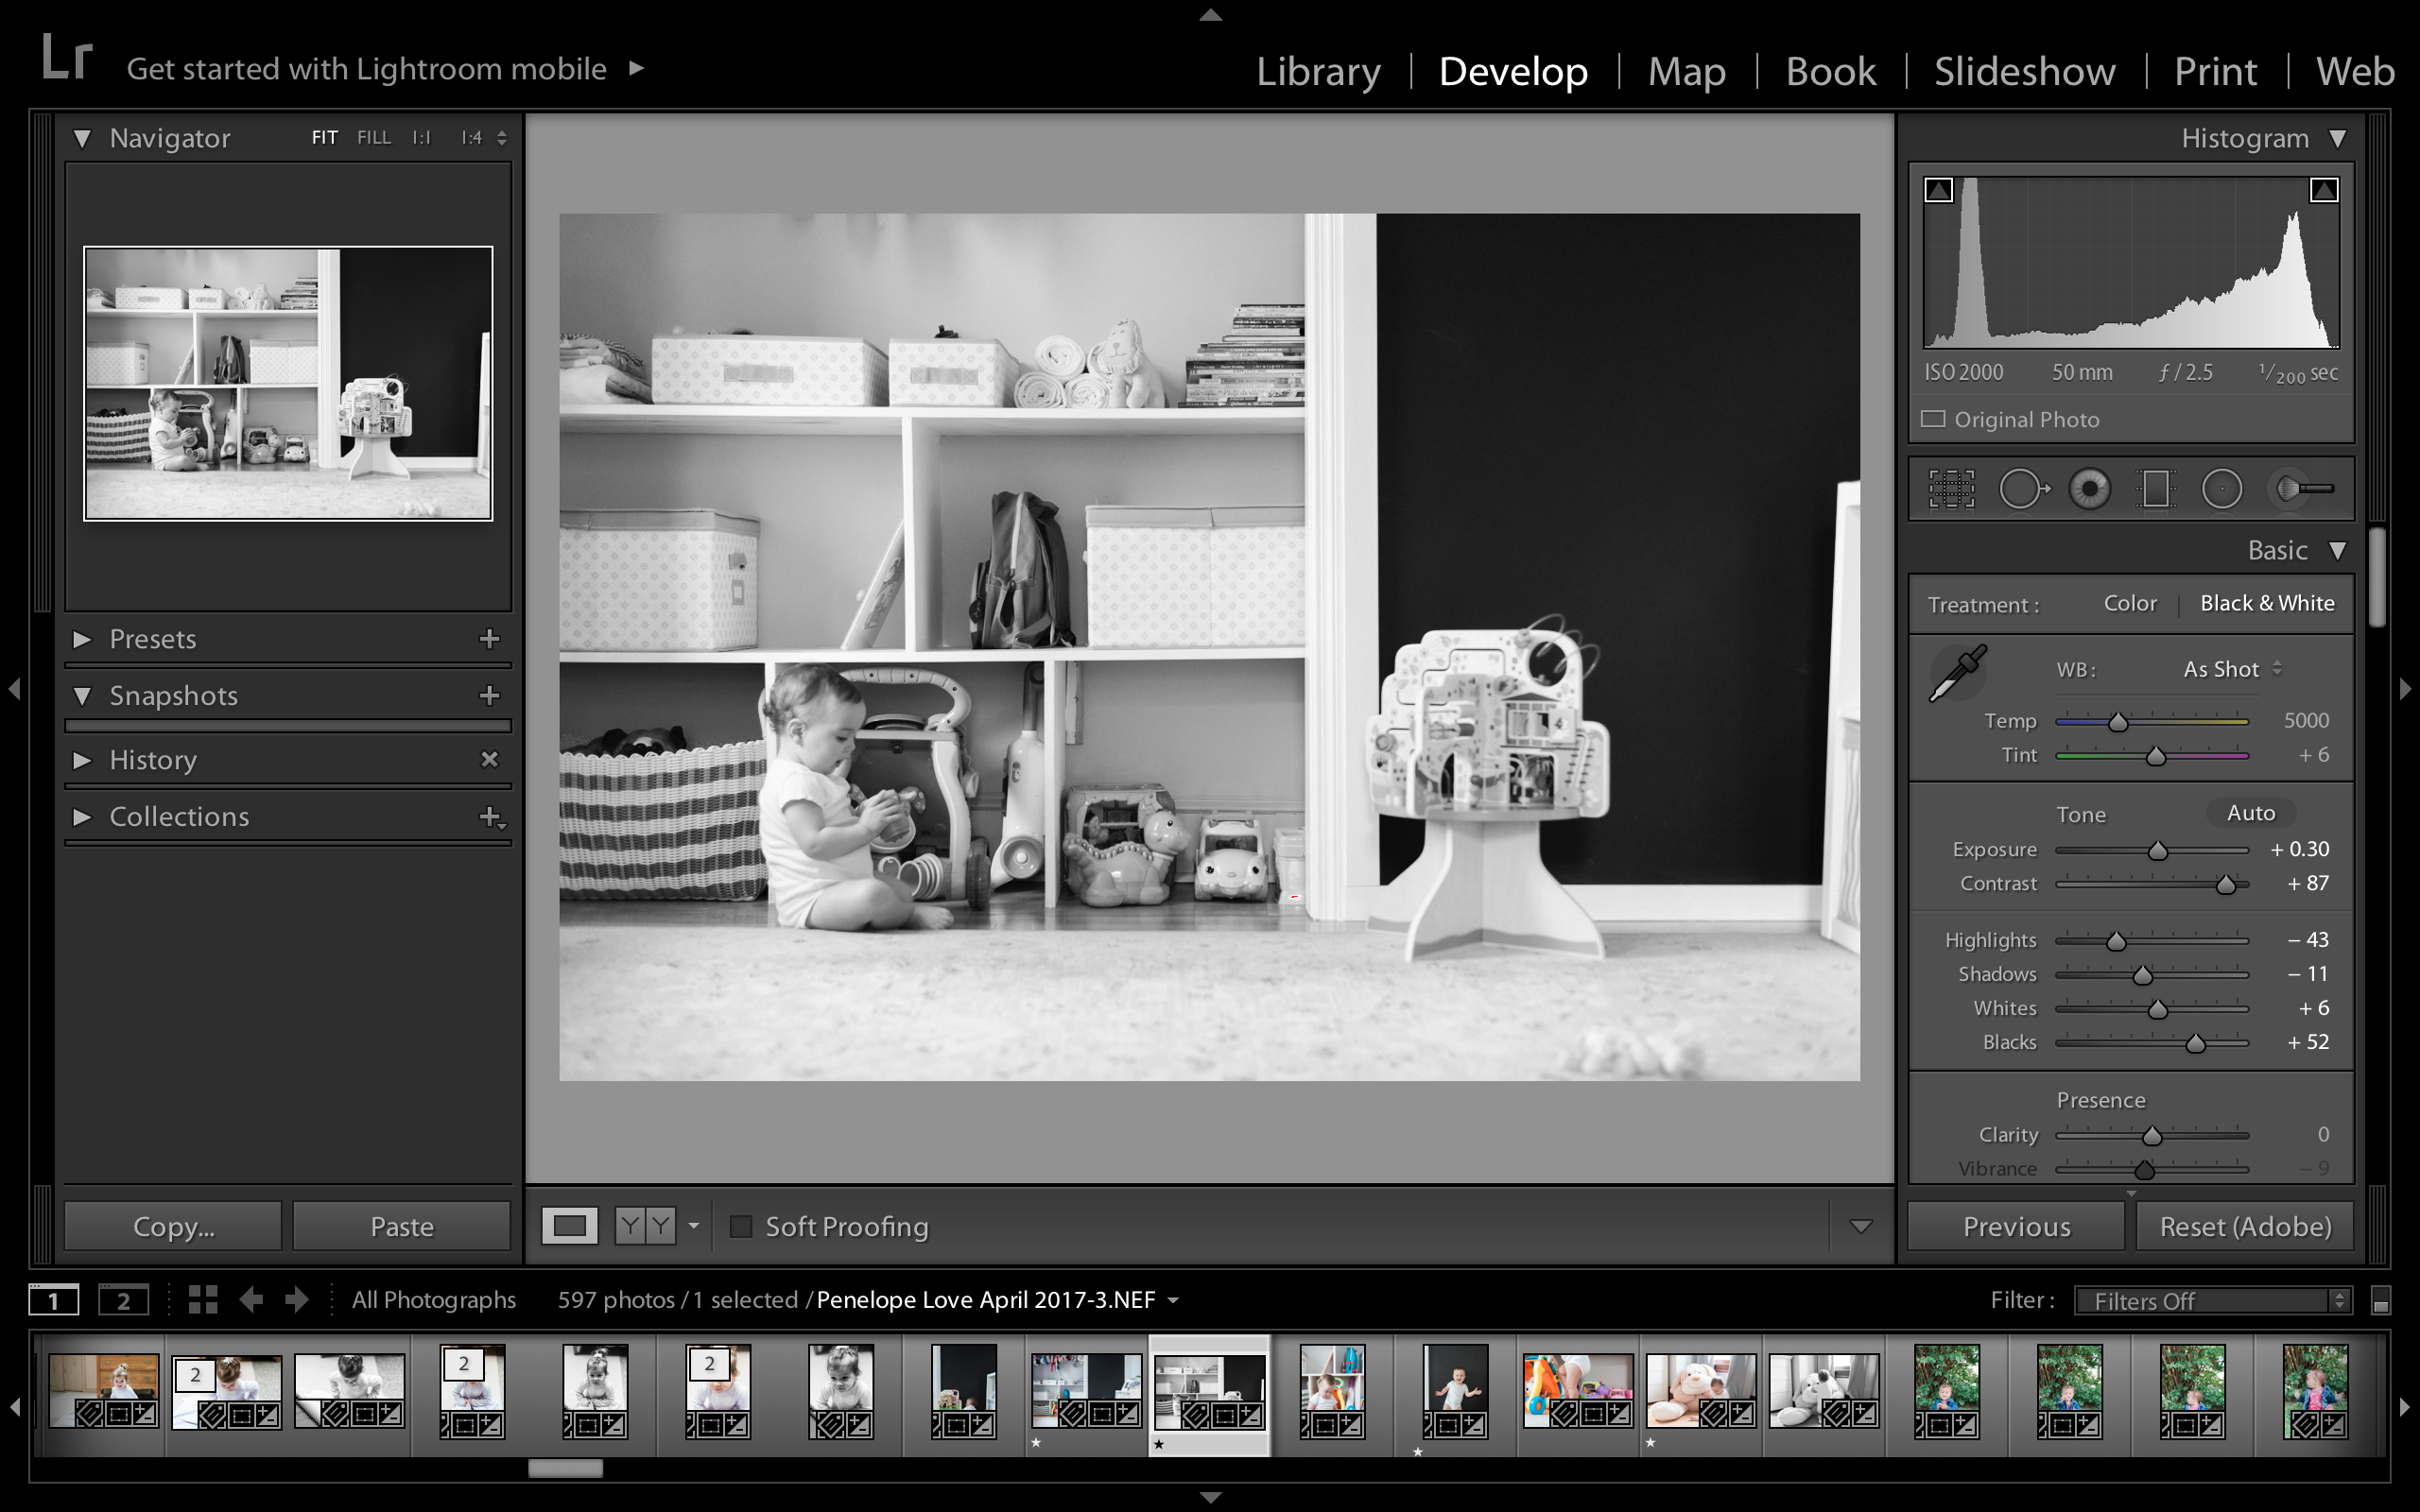
Lightroom is my primary source for editing photographs. I have Photoshop, but rarely use it for these purposes so I won’t even get into it 🙂 Lightroom allows you to create a new “Catalog” for every project so in this case, I have one Lightroom Catalog for each year. When I move photos into LR, I include keywords describing the month or event so that I can easily find them later. Over time, I’ve created presets which are basically templates that save my developing preferences to match my preferred photography aesthetic. I apply these presets to each individual photo and make minor adjustments where needed. While in LR, I also label images with a star (keystroke #1) to designate it as an image I may share on social media. After all photos have been edited, I export them to the appropriate “Edited” folder on my hard drive. All starred photos are additionally saved into a Social Media folder on my desktop. Non-pros, try saving your most favorite photos in an additional folder that you can quickly and easily access for social media, prints and family gifts.
Step 5 – Sharing with Family + Friends
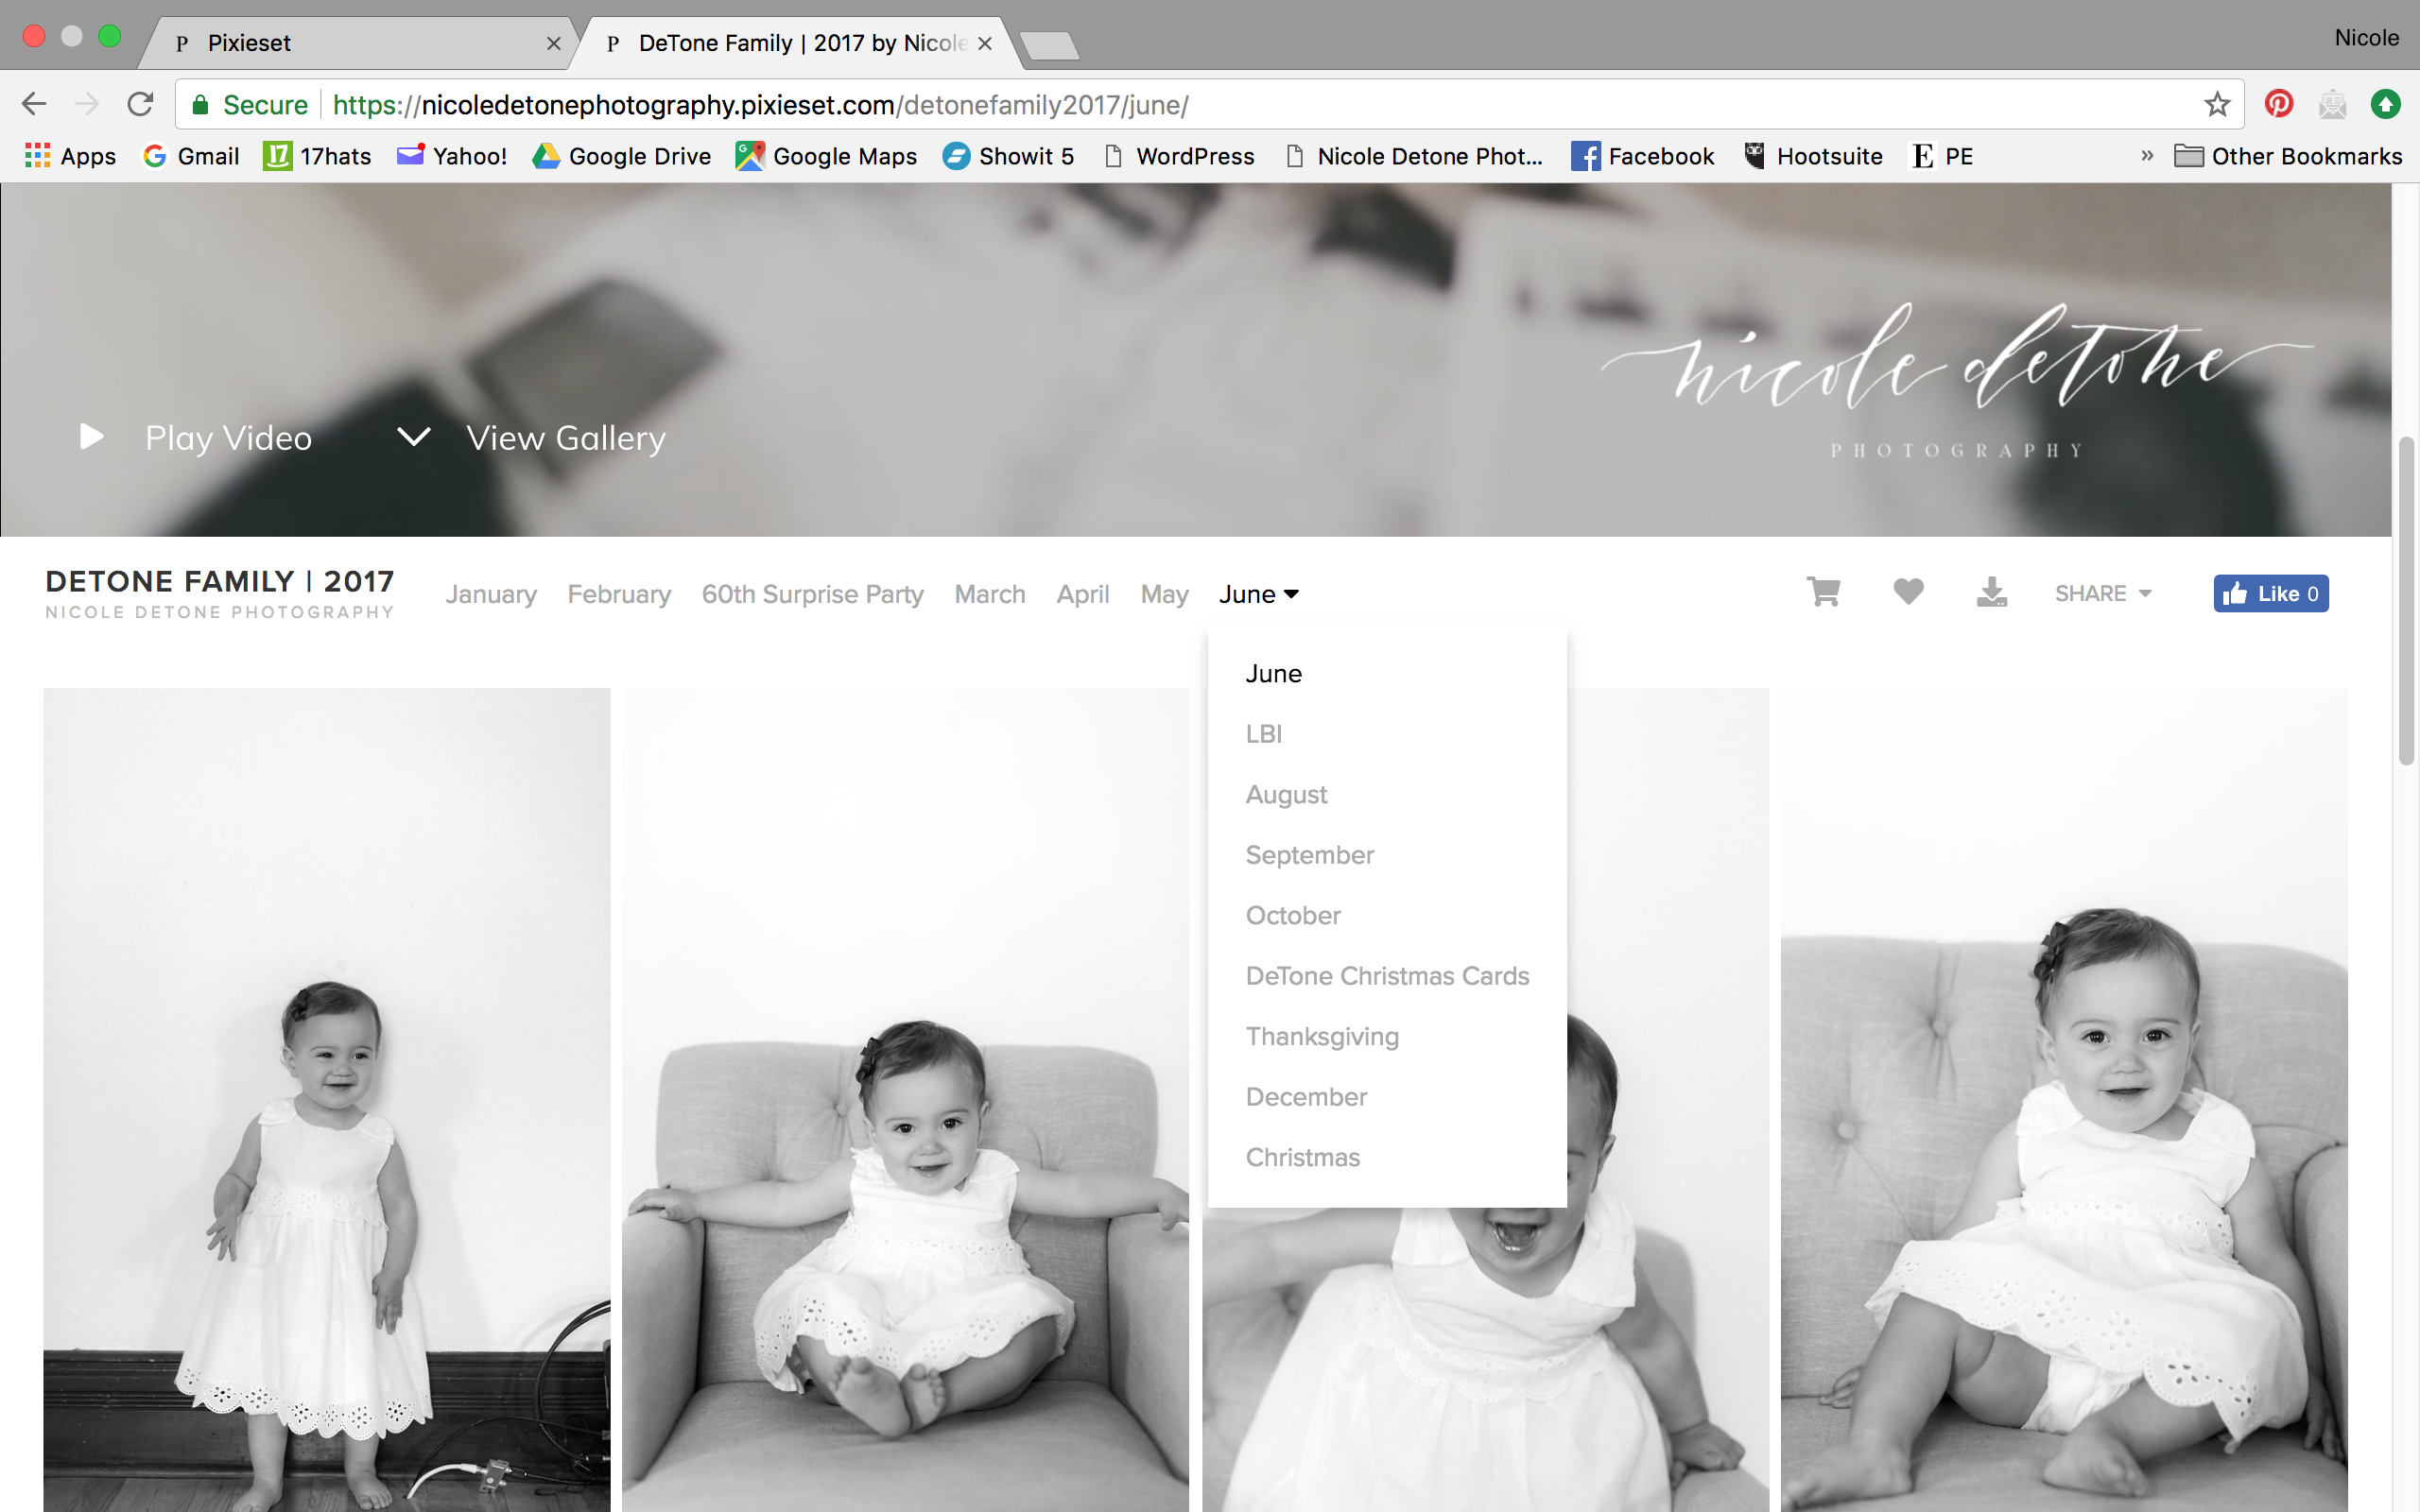
Once I have a full month of photos edited, I upload them to Pixieset, my online gallery platform. I have a family gallery for every year with sub categories for each month and special events or holidays. Since I have sooo many personal photos, these galleries are shared with loved ones so they can easily view, save and print photos all on their own. Since Pixieset allows you to use a video as a cover “image”, I especially love my 2017 gallery that includes our family film by Between Sleep & Awake! Non-pros, think about creating a private Dropbox or Google Drive folder for your loved ones to see all of your beautiful family photos!
Step 6 – Printing Albums!
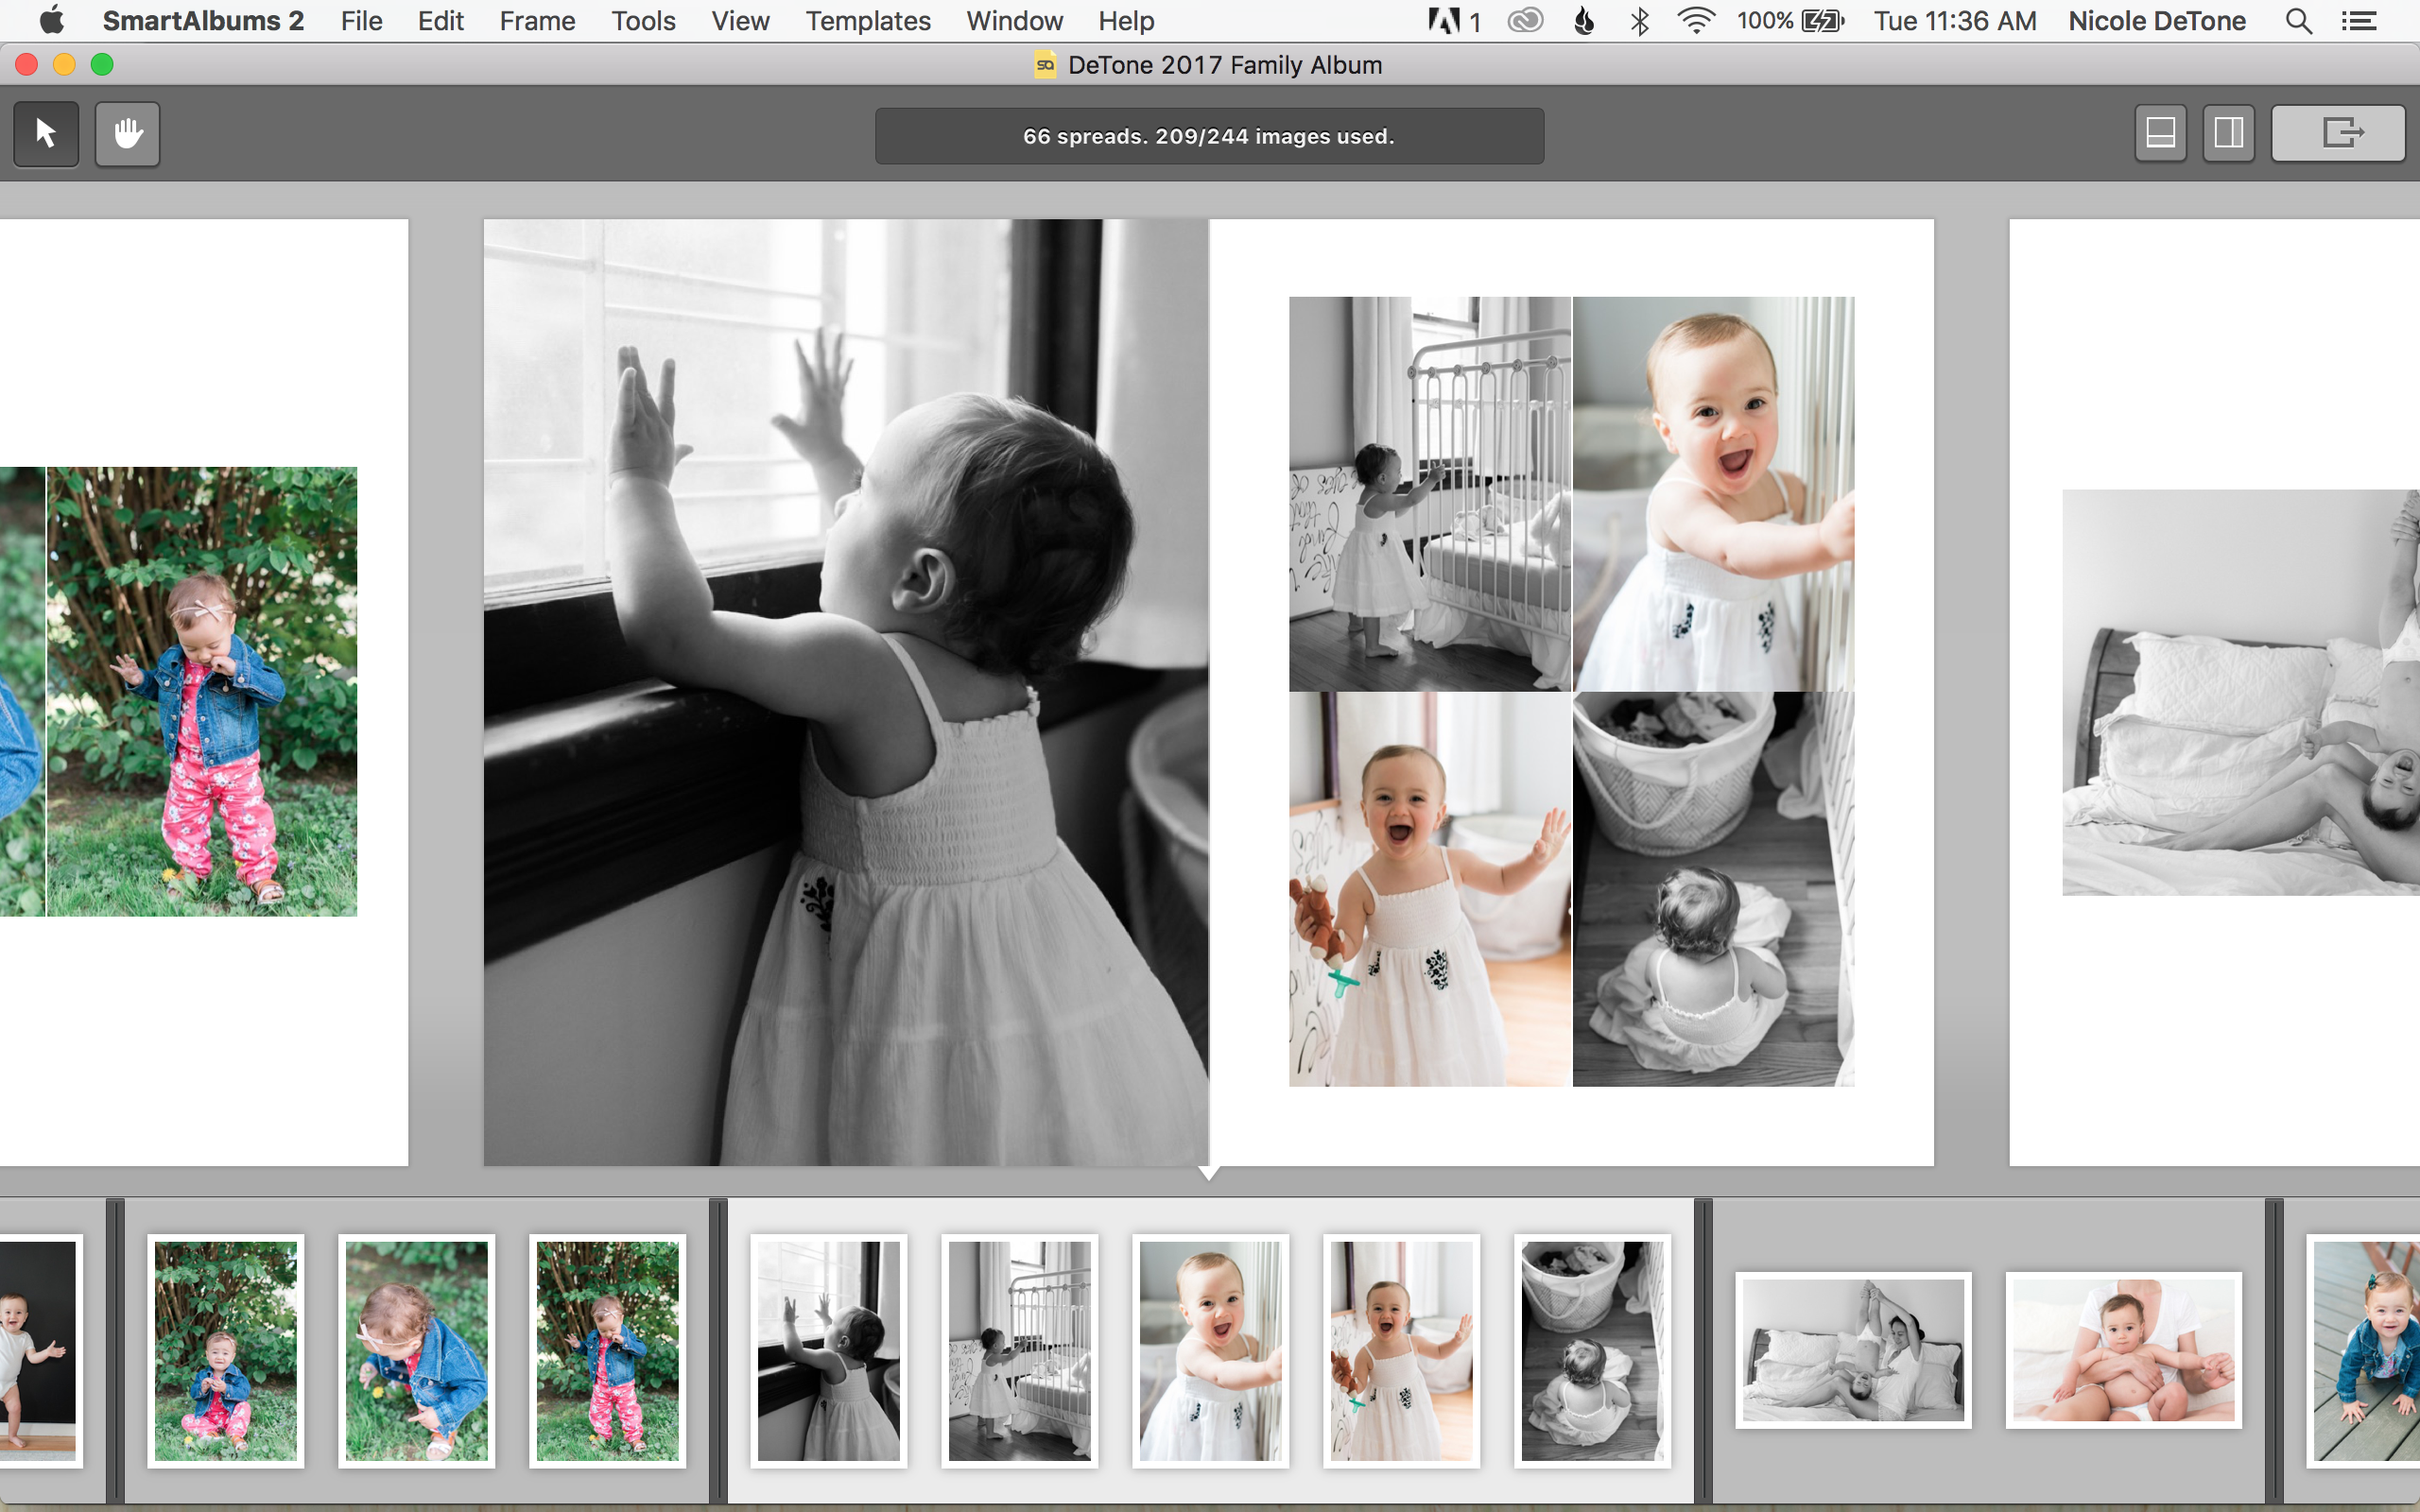
Ok, almost done here! The last step of my process is getting all of these precious memories printed in a book that we can treasure forever. And with it, another tool that I can’t live without, Pixellu Smart Albums. This cloud-based platform allows me to make beautiful album spreads set to the specs of my preferred album company. This step typically starts sometime in February when all of my photos from the previous year are complete with editing. Before bringing edited images into Smart Albums, I use Photo Mechanic again to select my absolute favs from the year. Once the images are in Smart Albums, I’m able to choose from pre-designed templates for each spread and then drag and drop my images into place. Now, I’m not gonna lie, it takes me a lonnng time to do my album layout because 1) there are usually over 200 images 2) I’m a perfectionist and 3) I can often be found crying while going through memories from the past year 😉 But, once I’m happy with my spreads, I export them to my hard drive and upload them to my preferred album company. In this case, Artifact Uprising. Non-pros, there are so many album companies for you to choose from out there! And you’ll quickly find that with investing a little bit more money, you’re going to receive better quality. If you’ve invested in a professional photo session, or a higher-end camera, I highly recommend choosing an album company like AU to print your photos with.
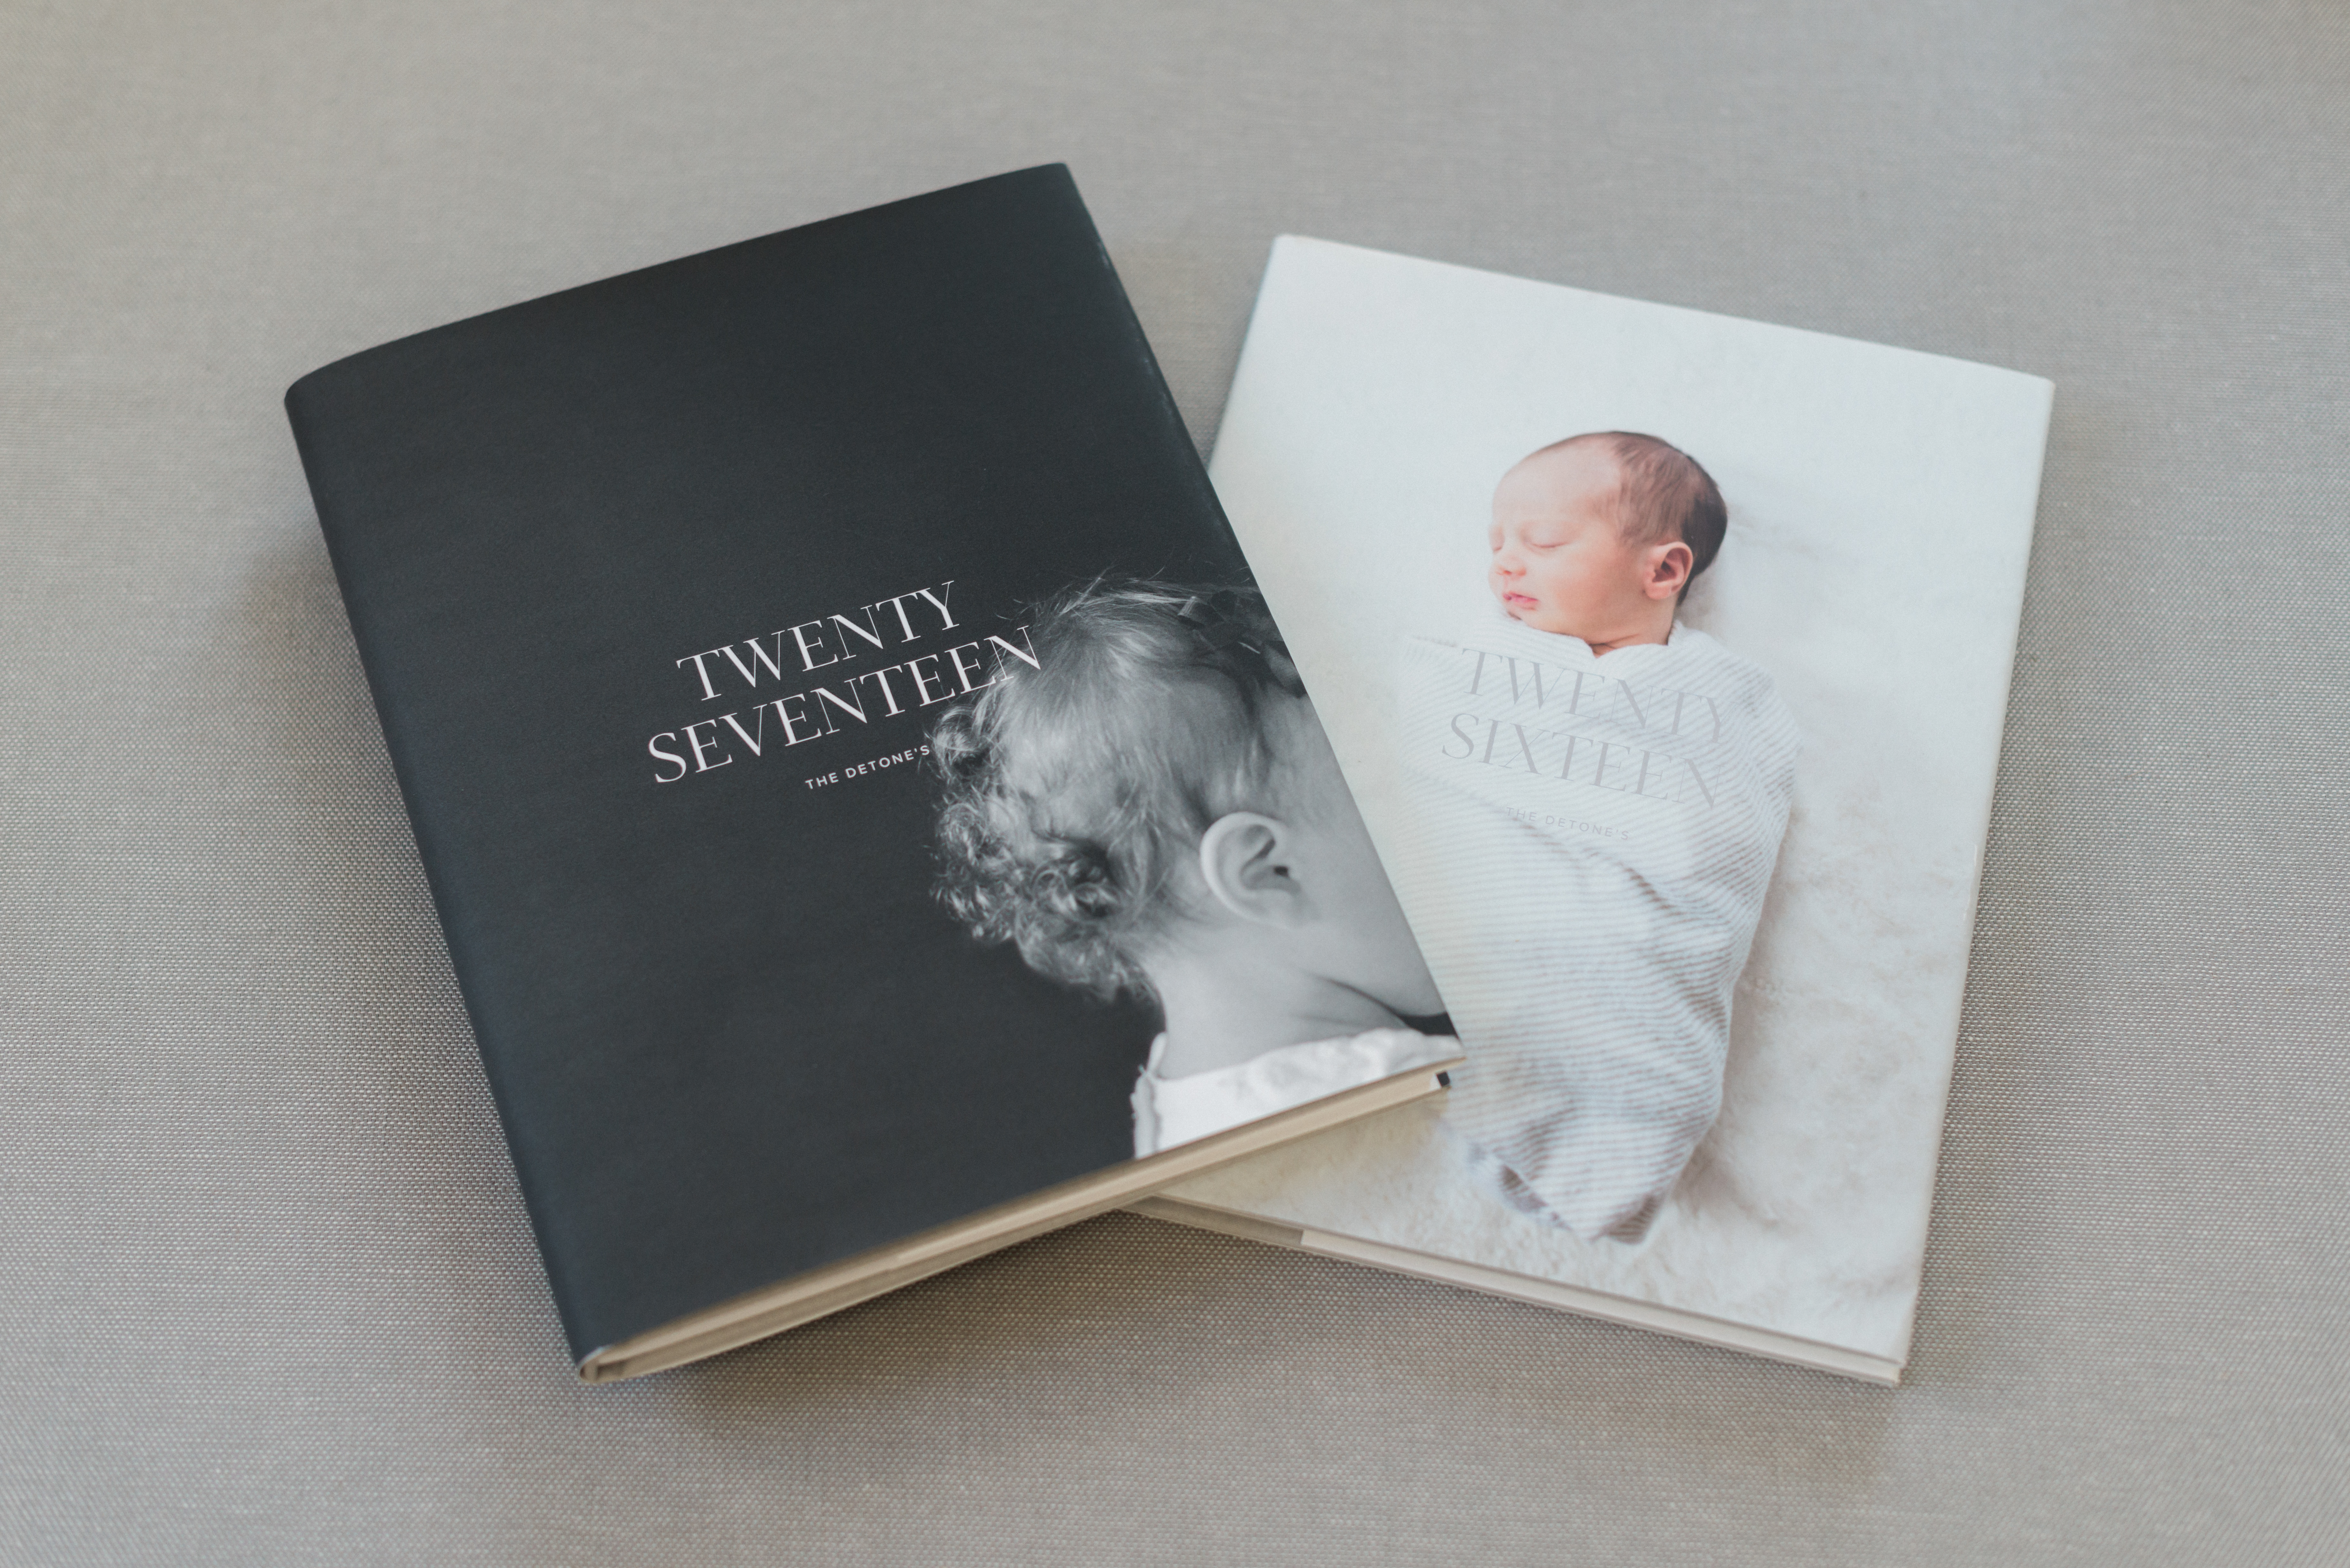
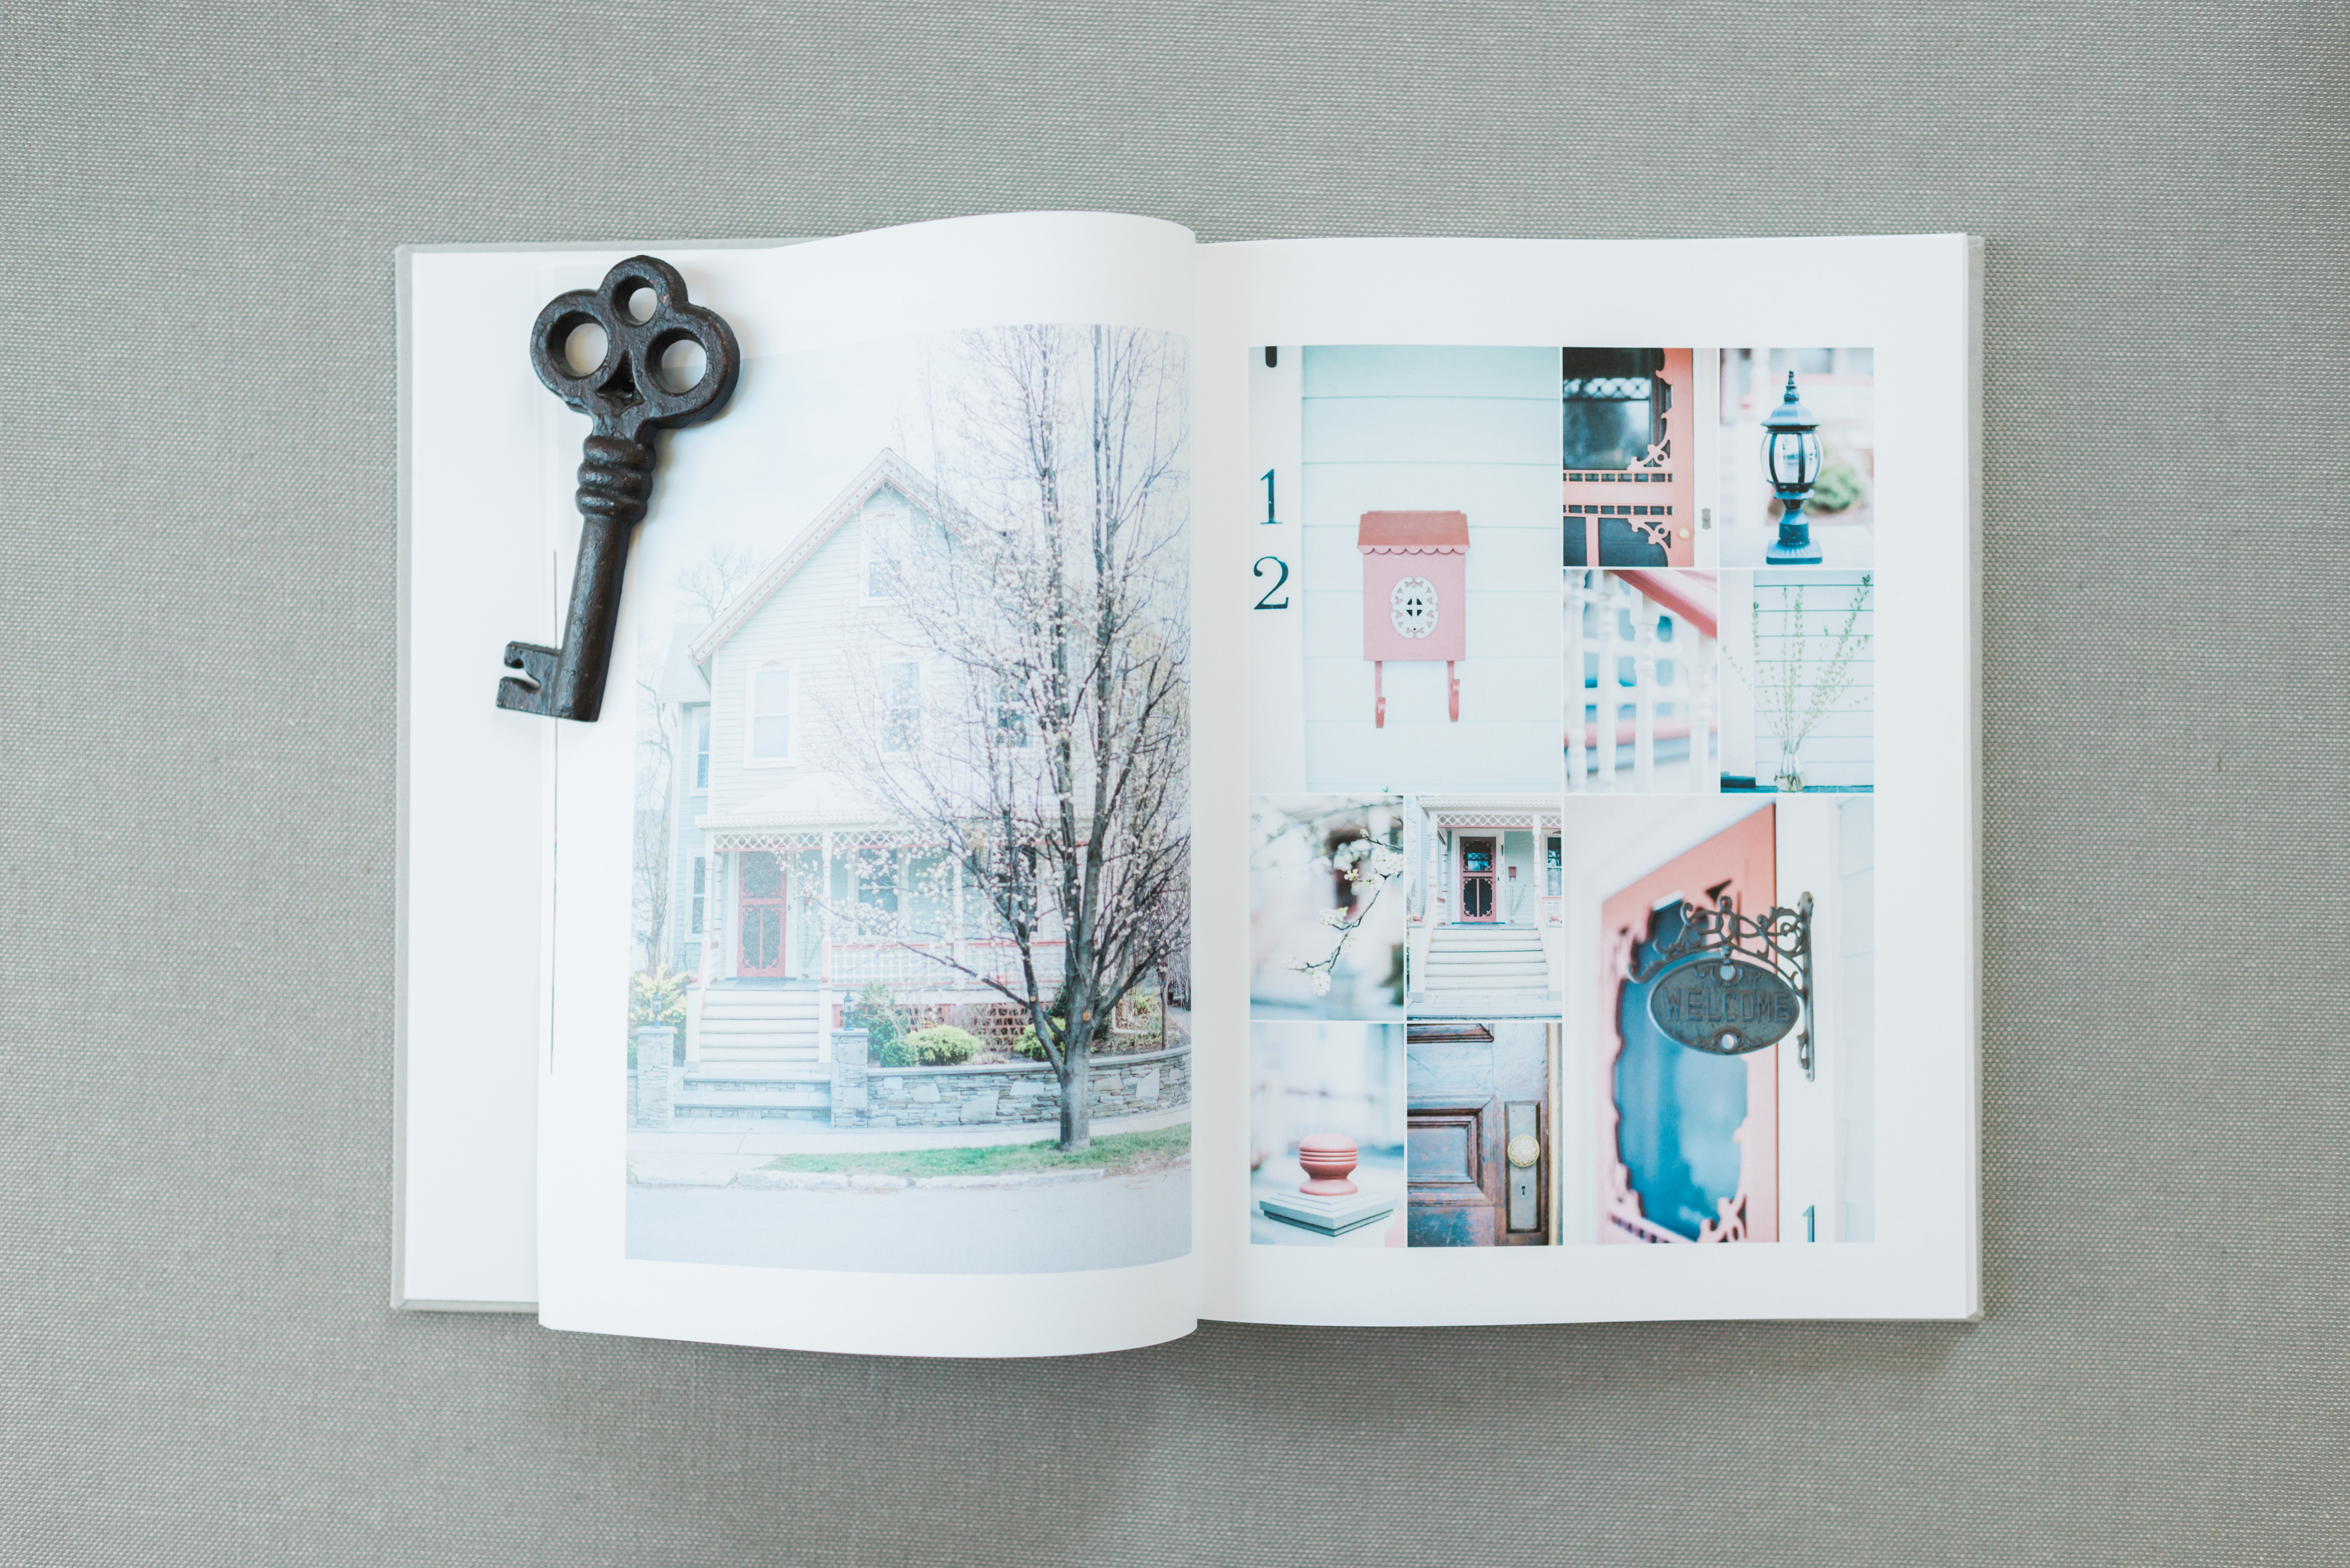
Here’s a little peak of my finished AU albums and one spread!
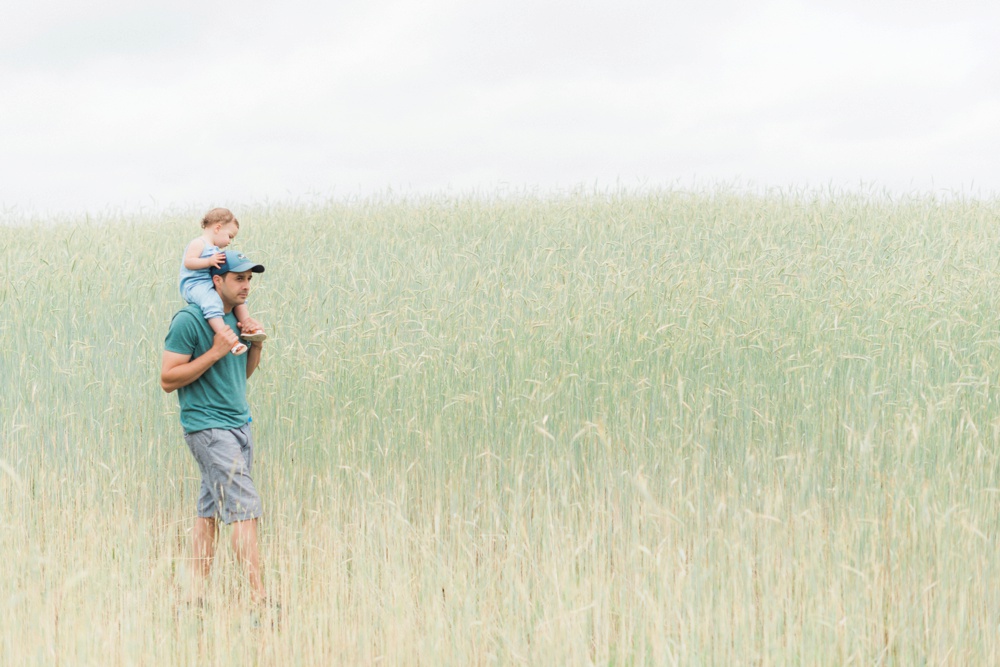
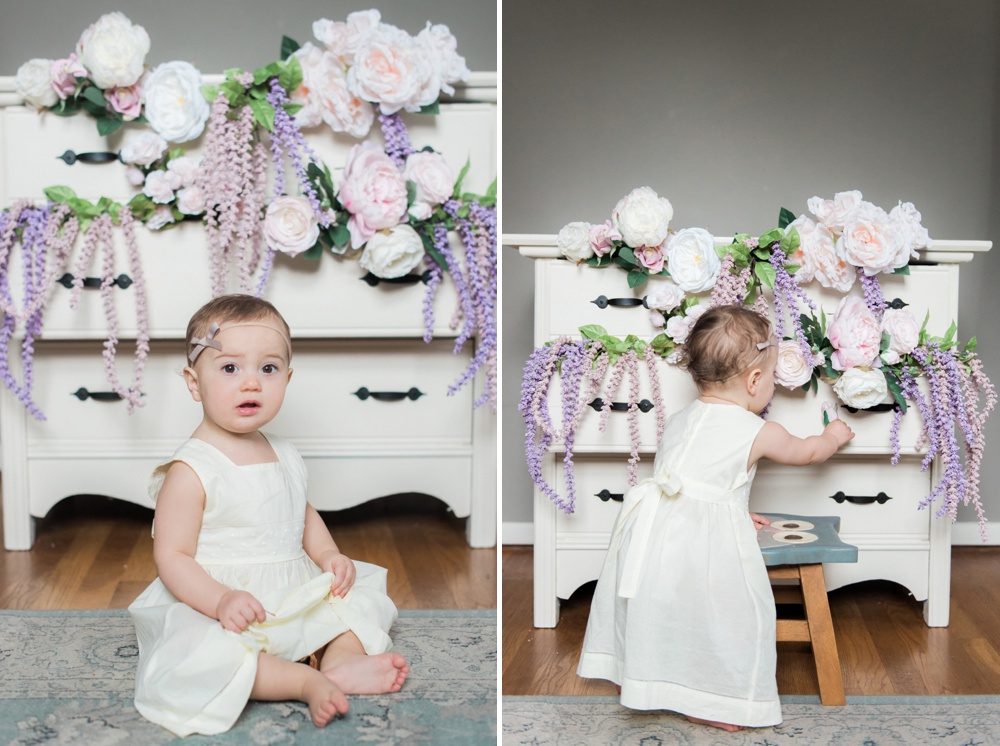
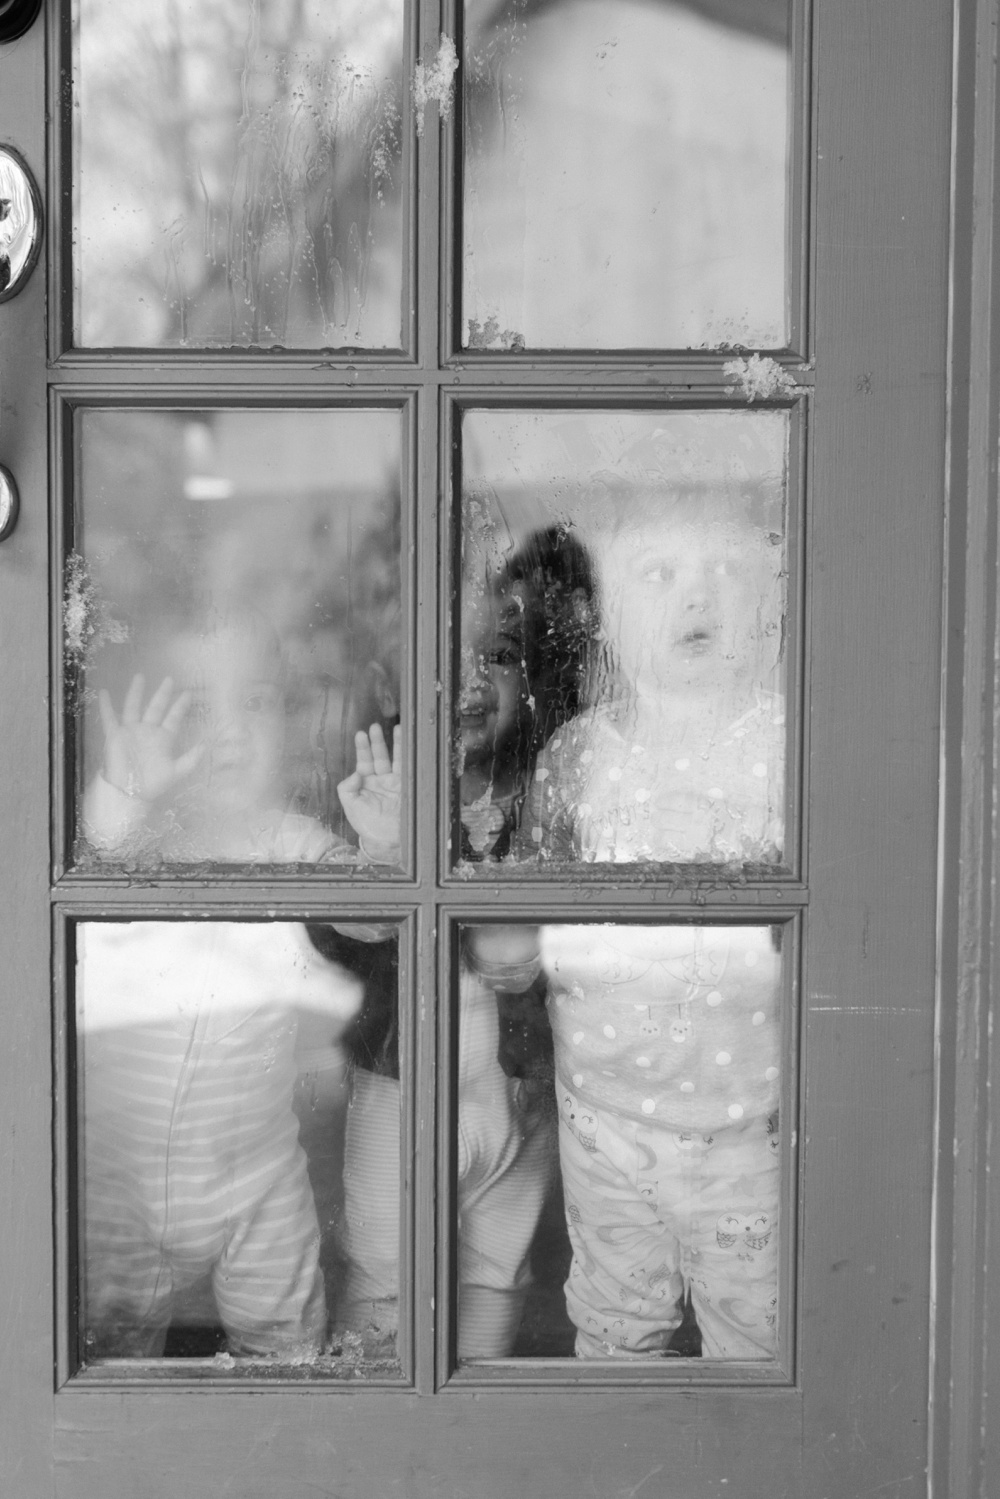
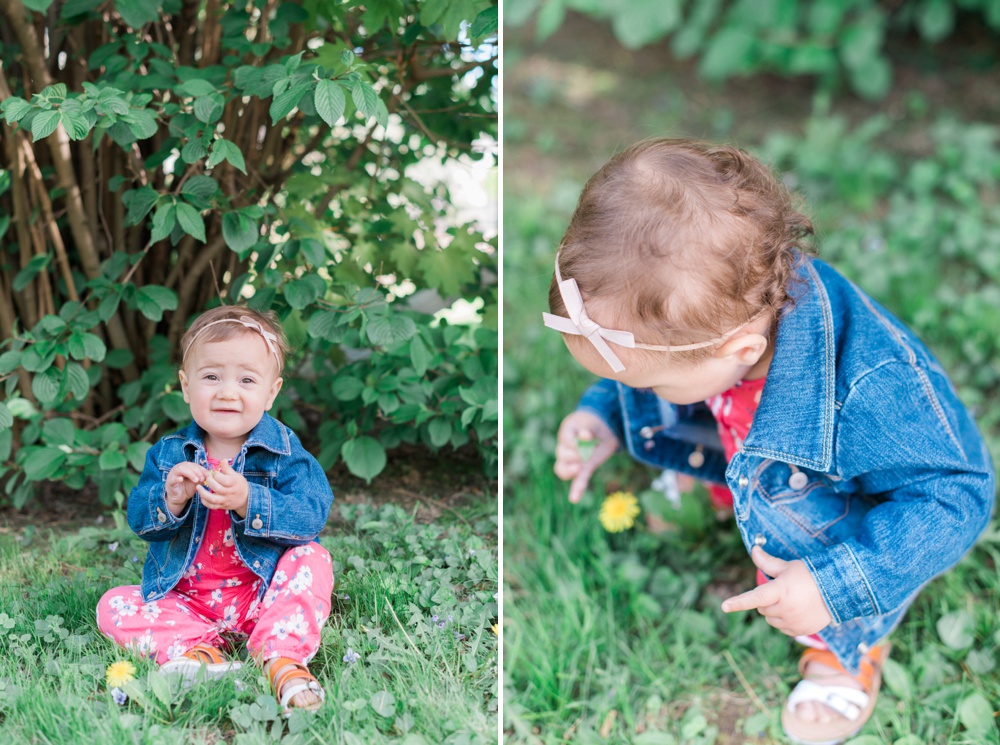
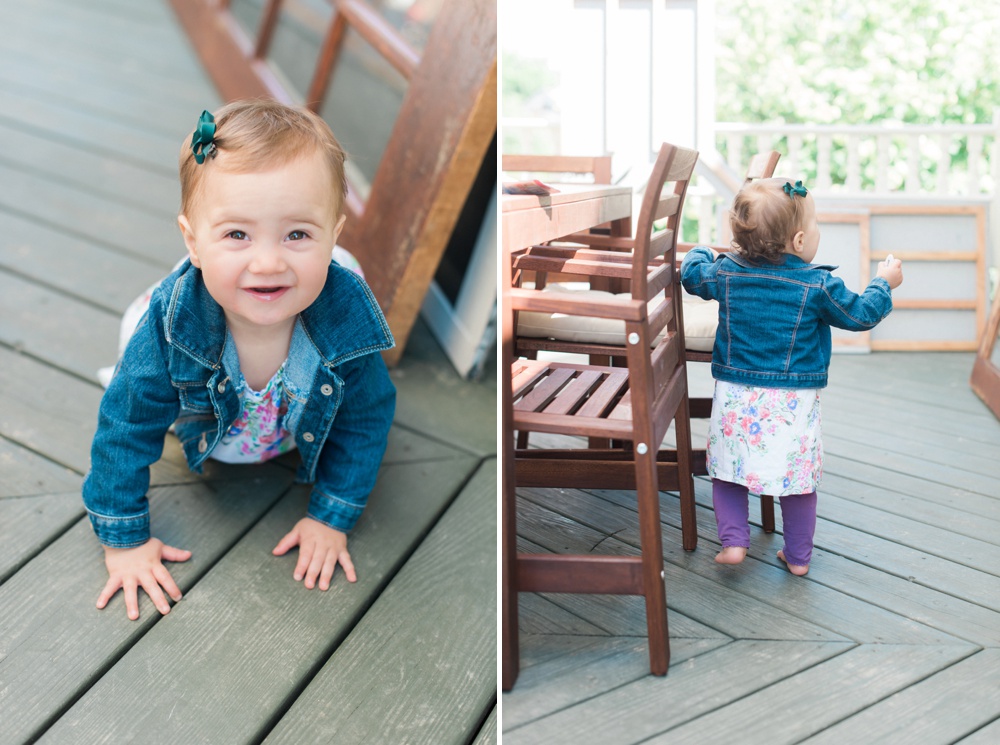
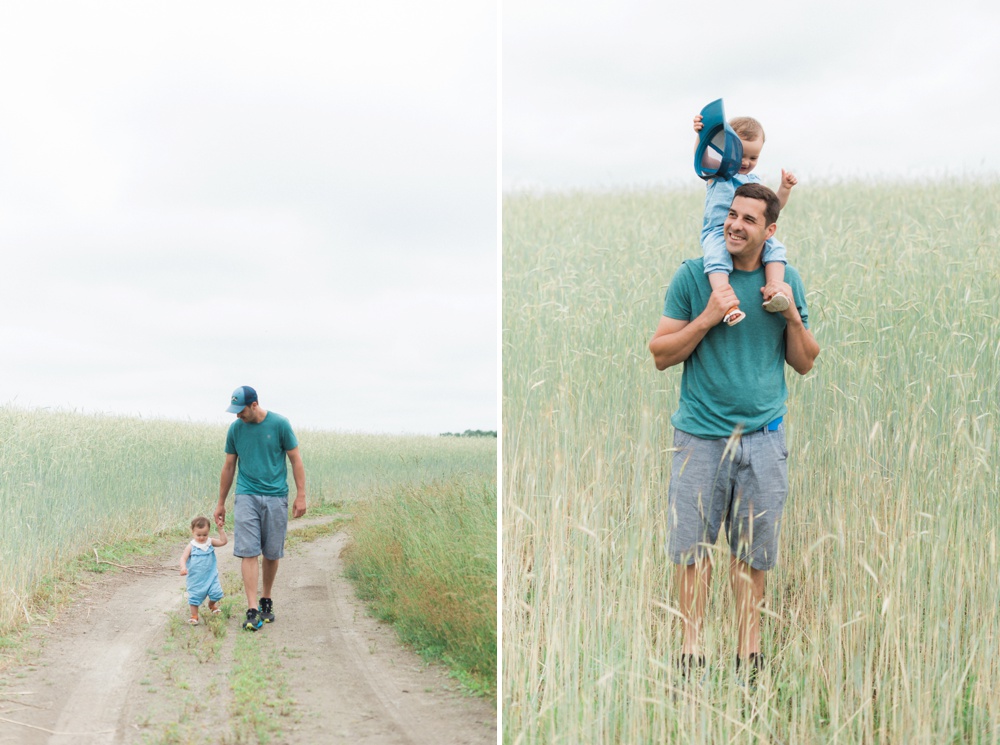
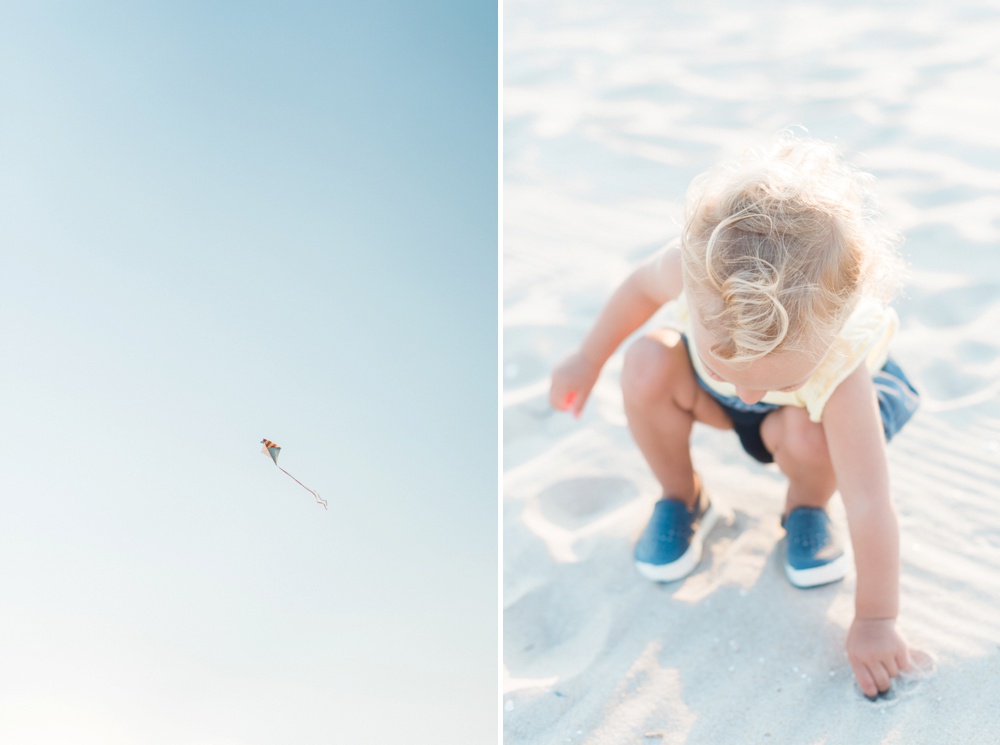
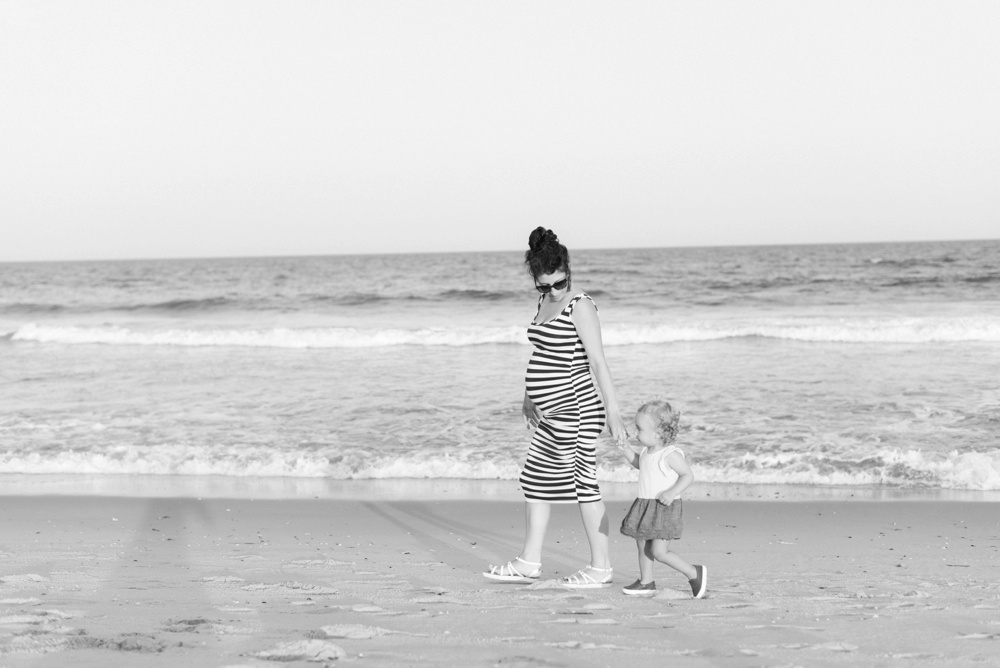
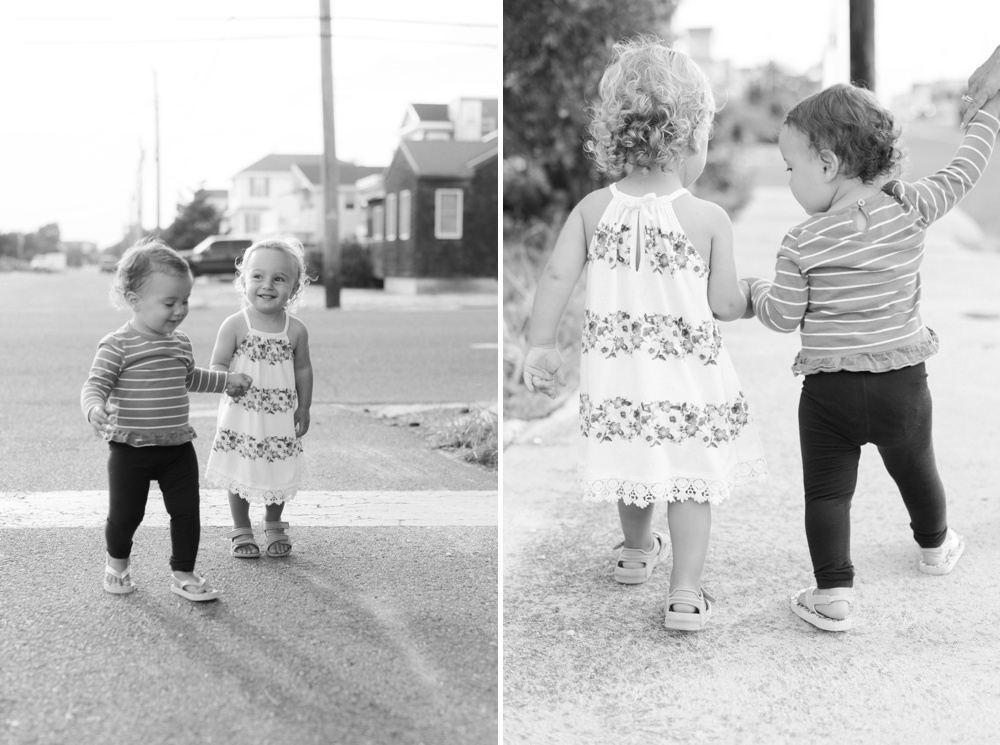
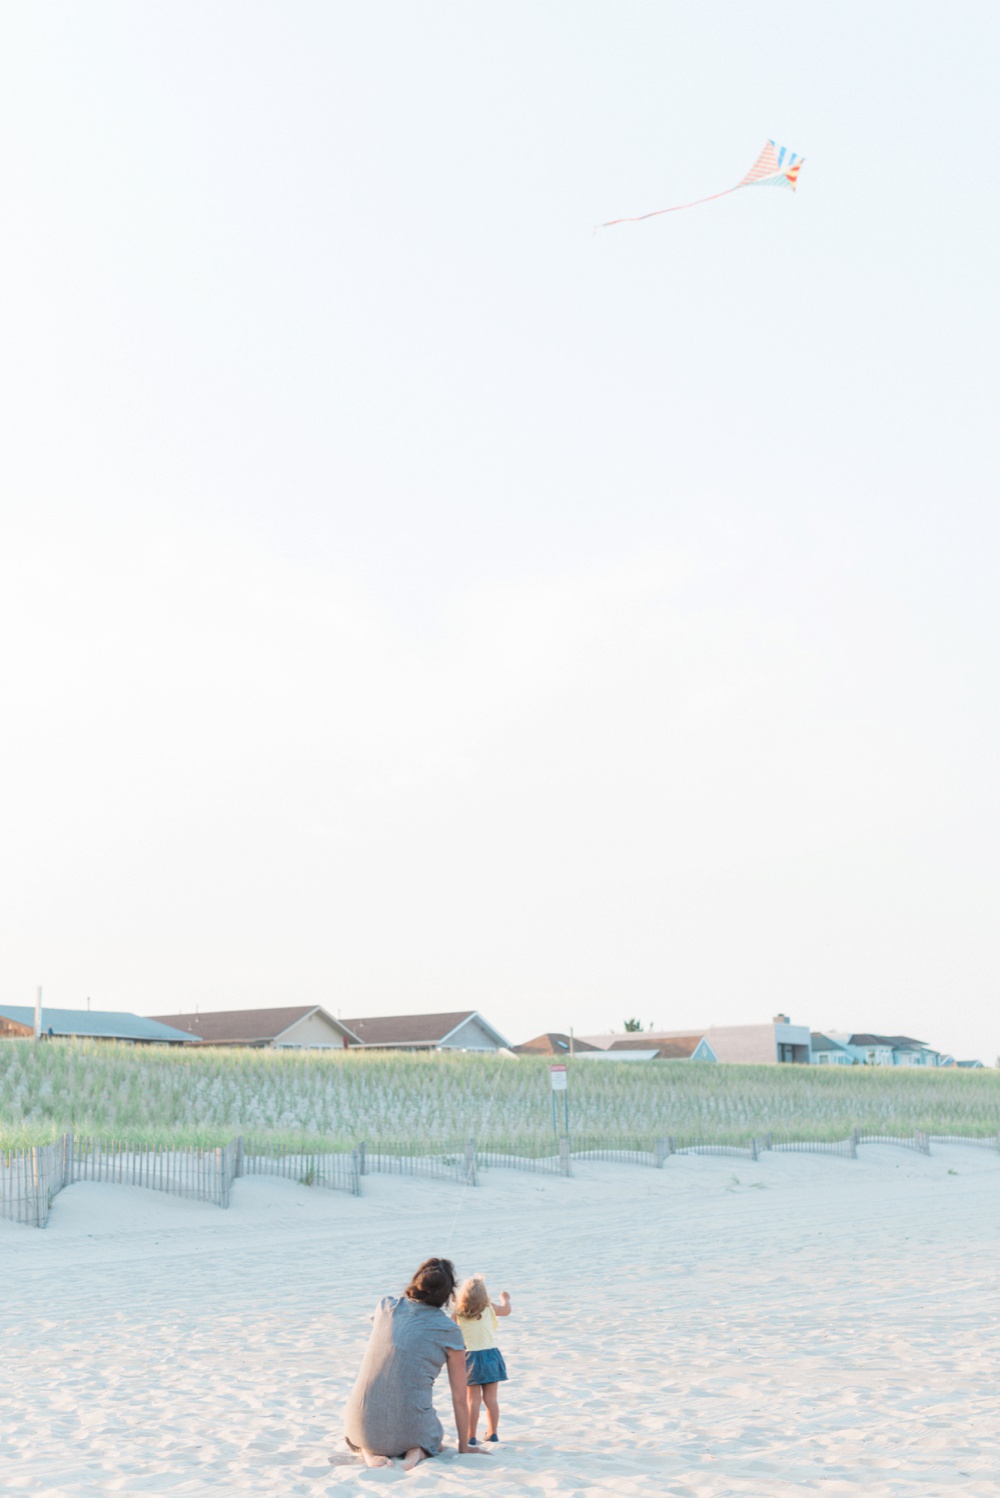
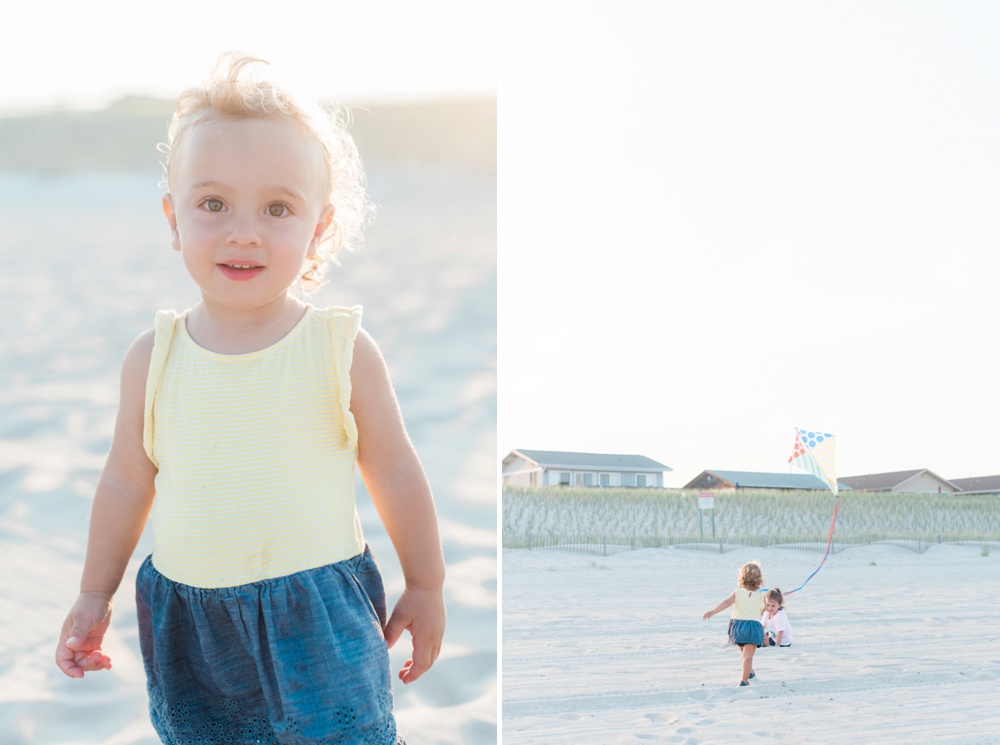
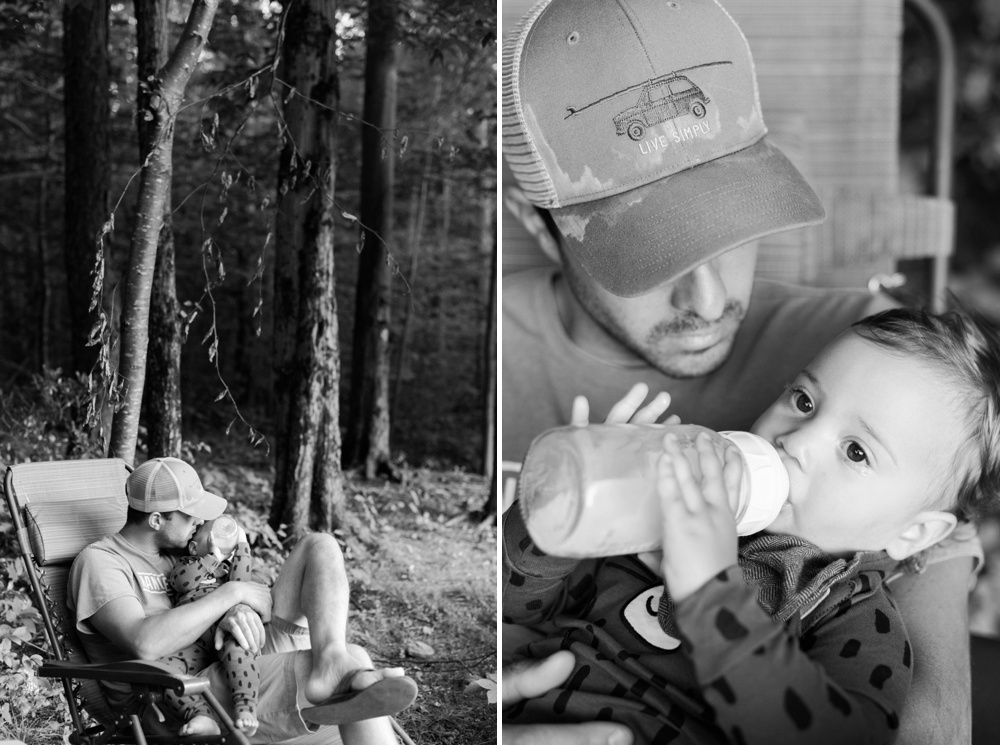
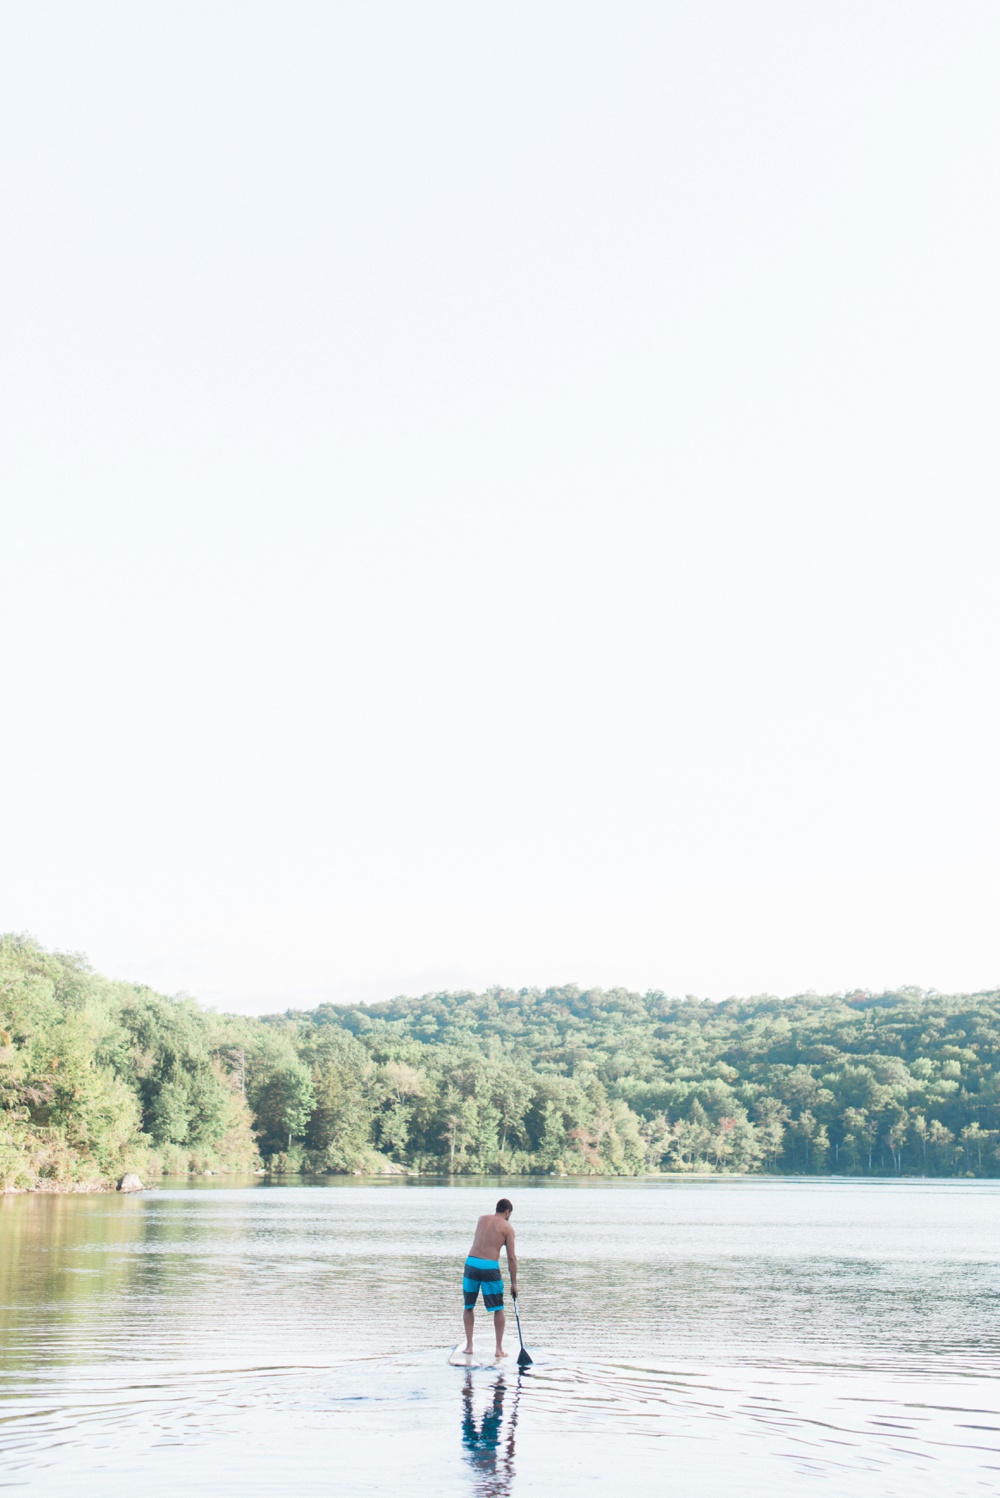
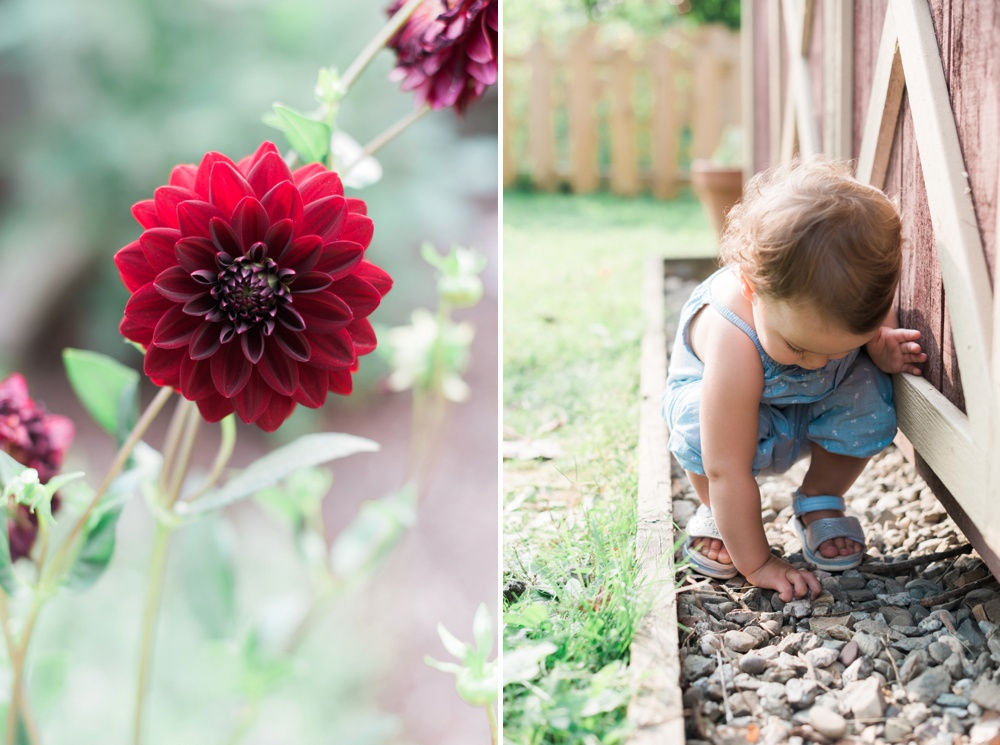
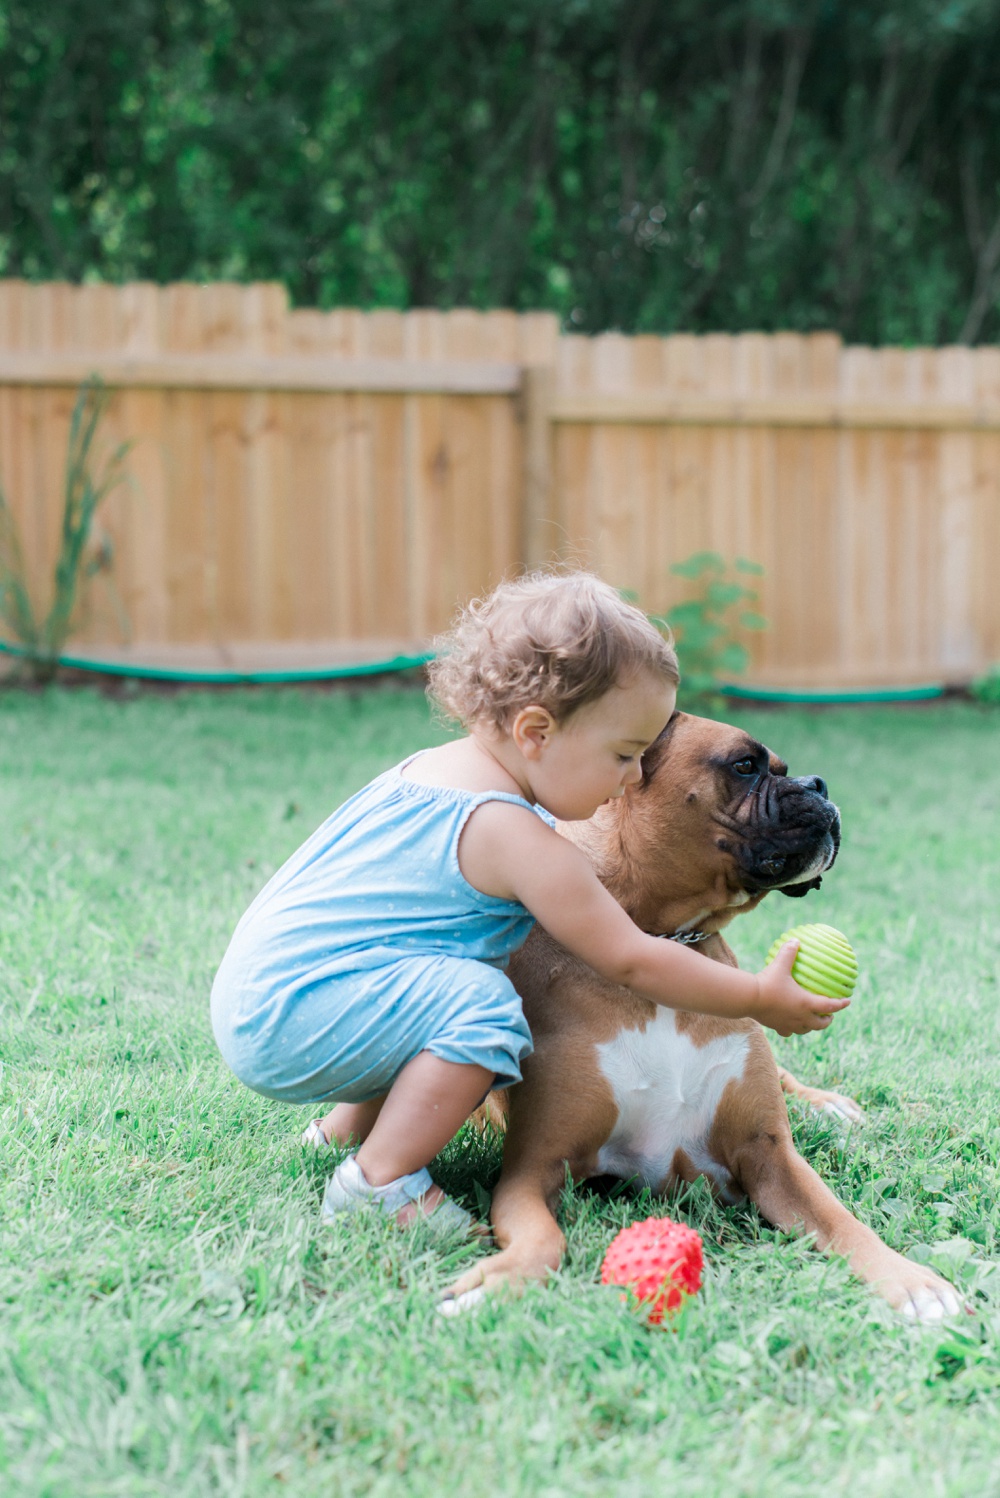
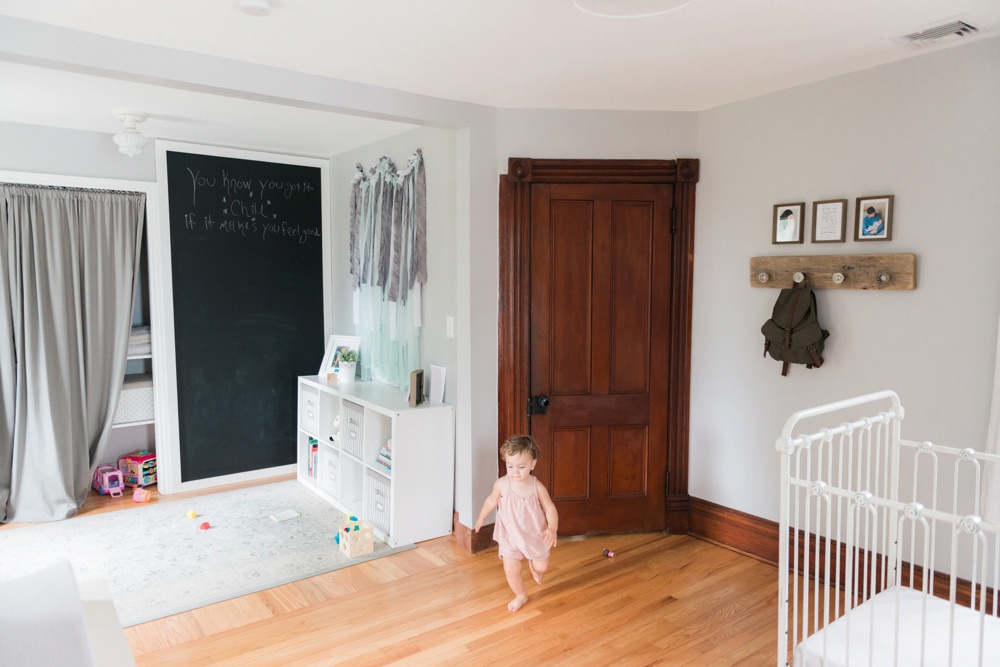
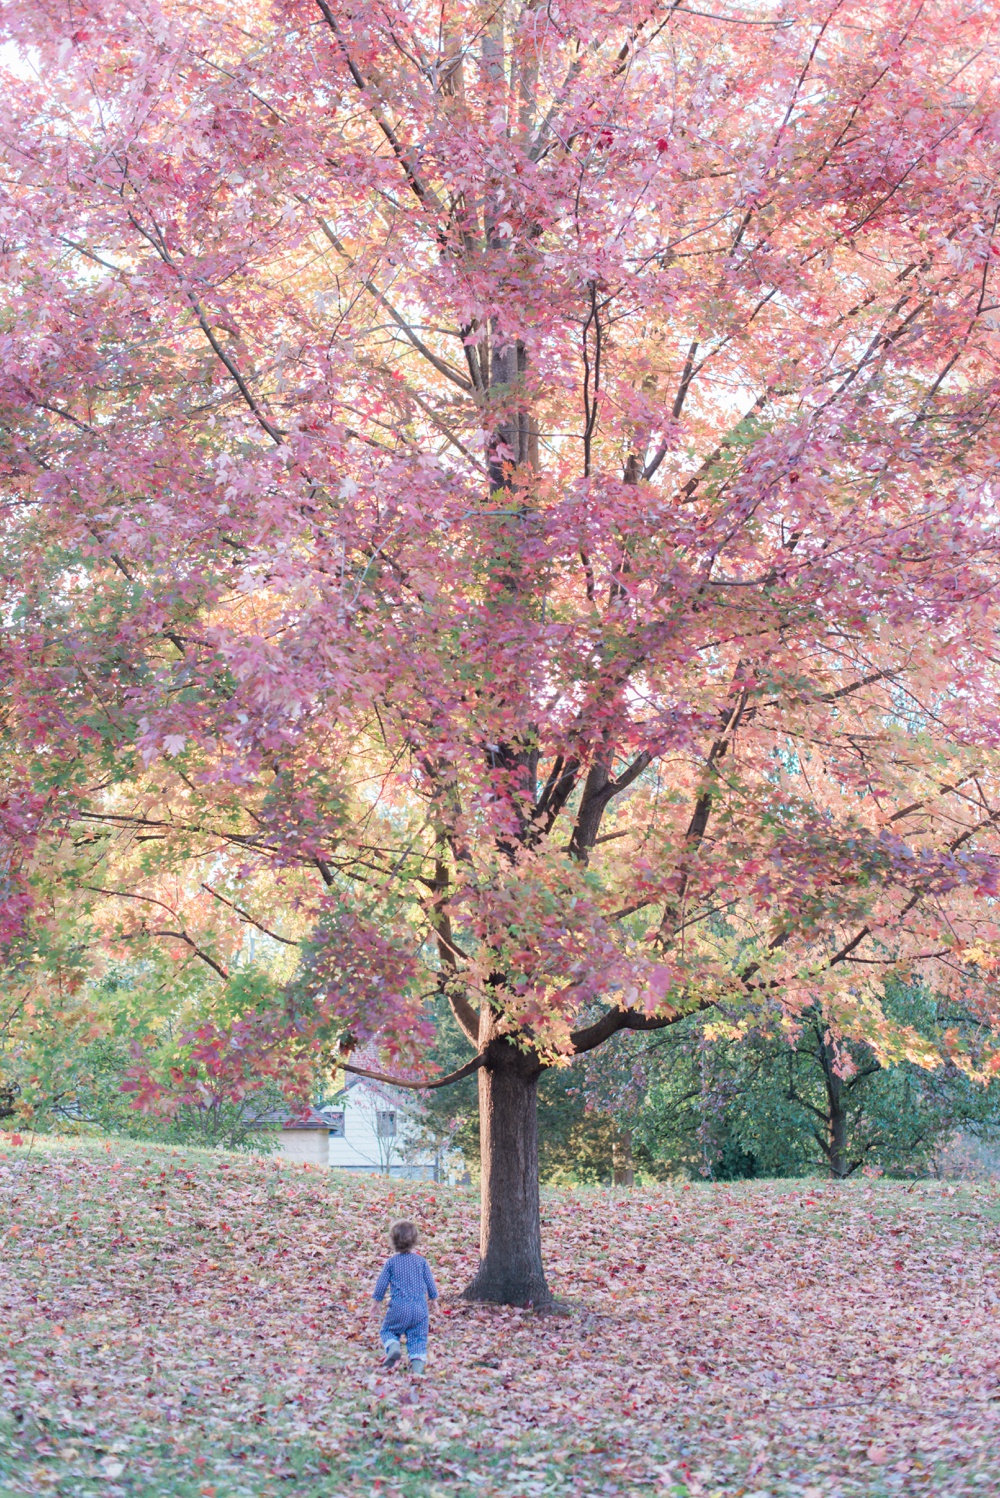
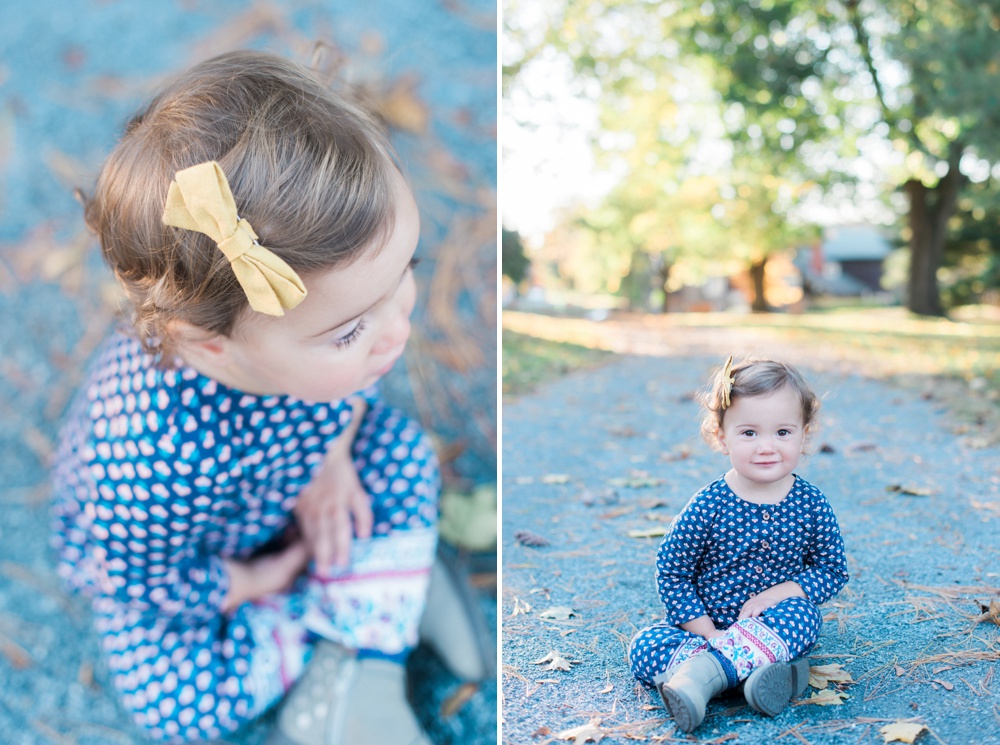
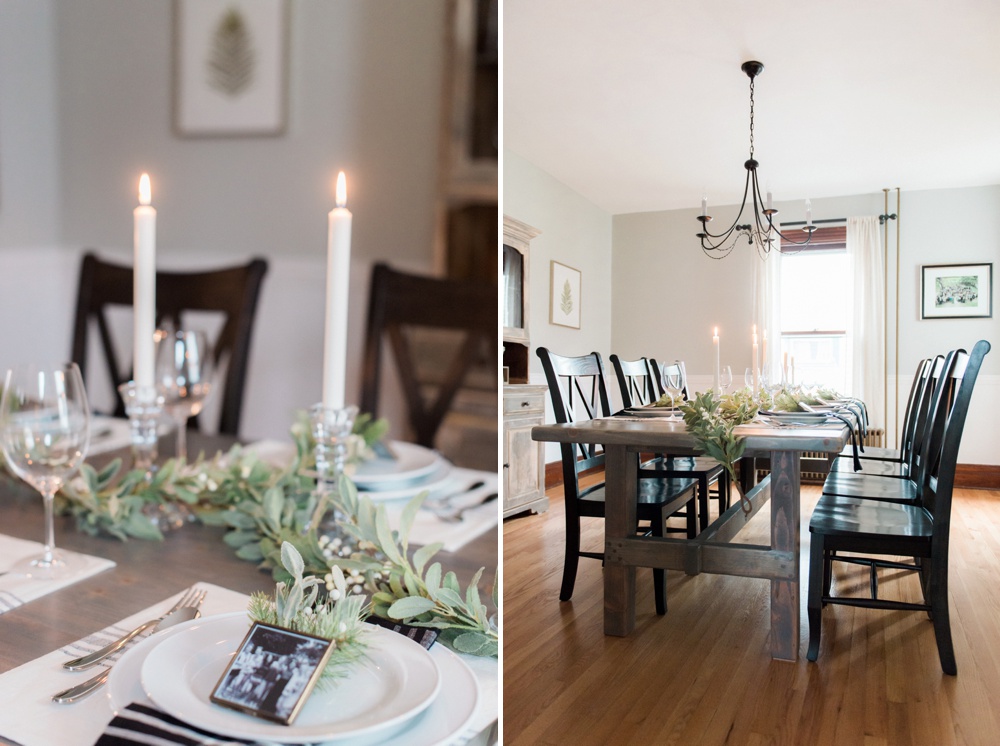
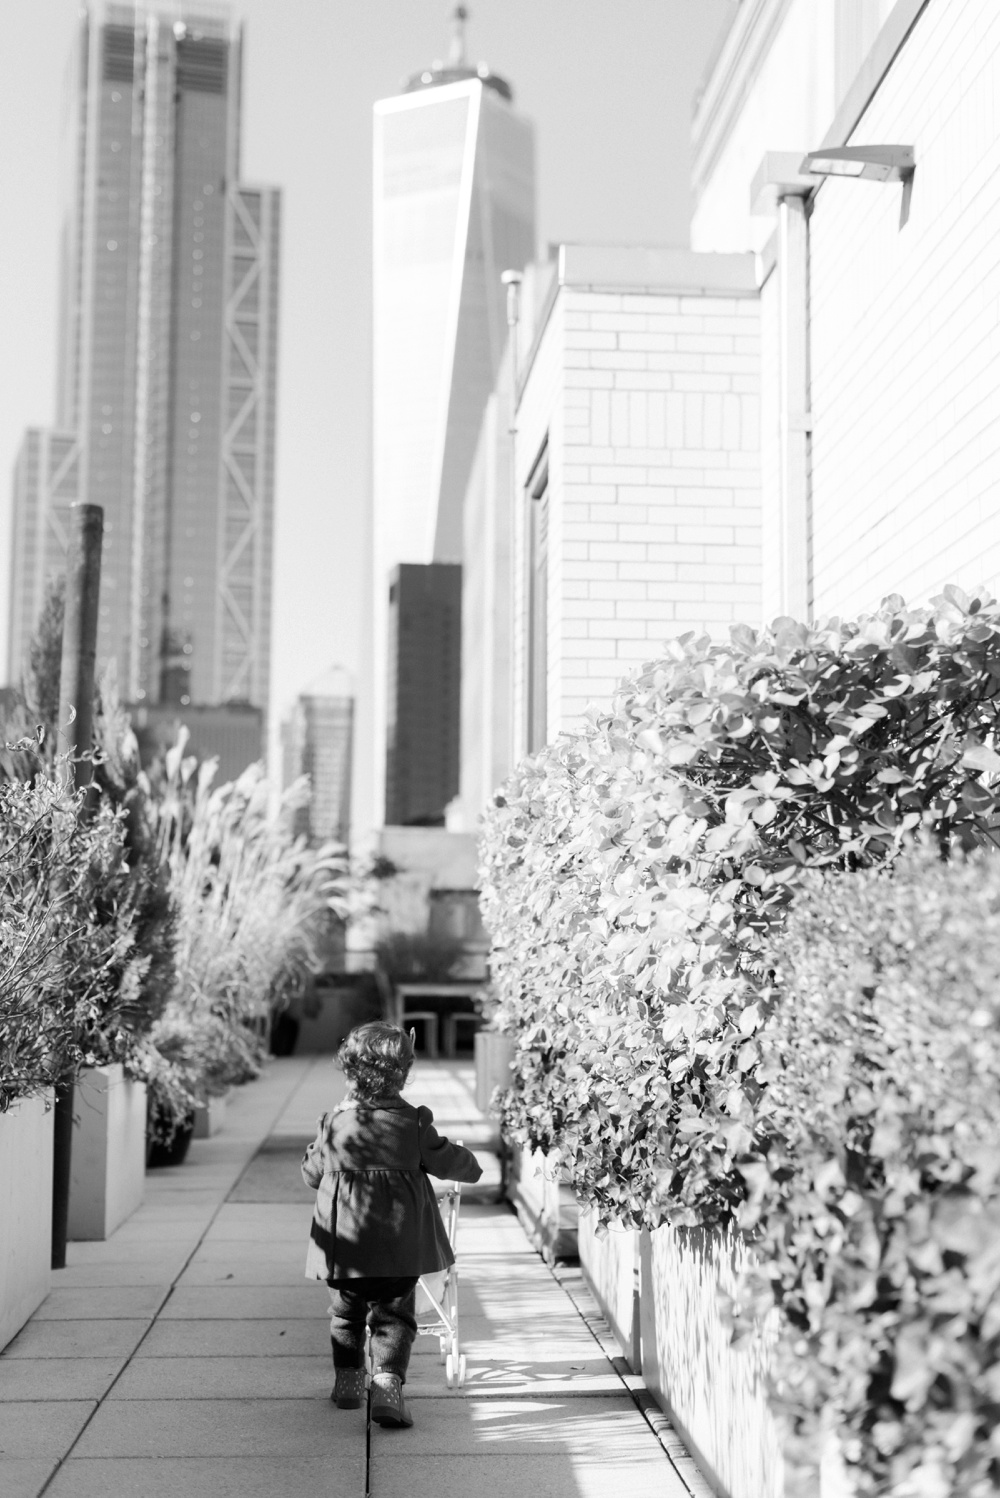
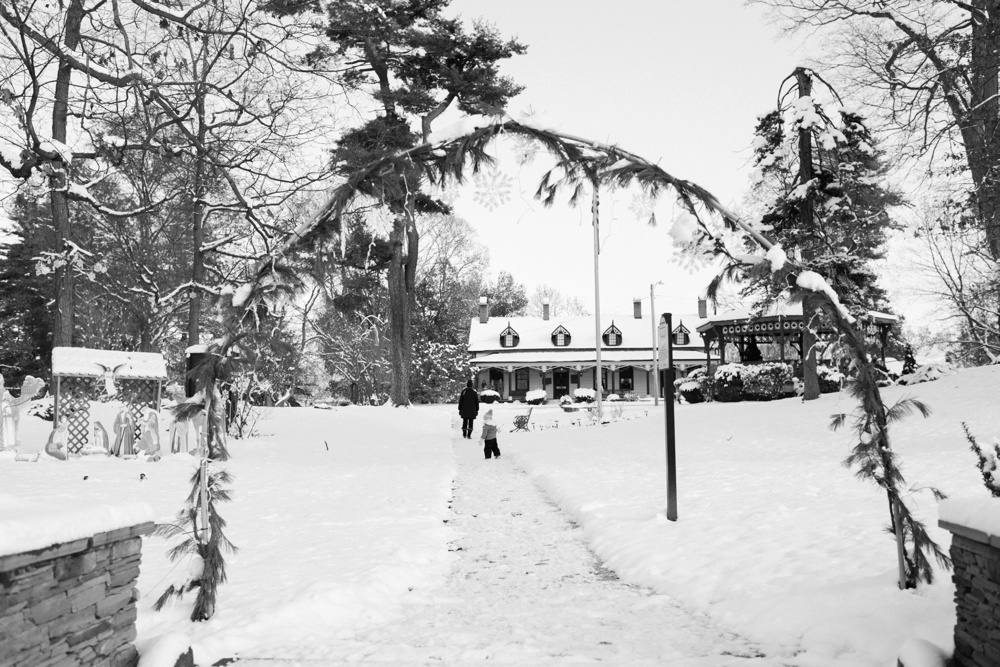
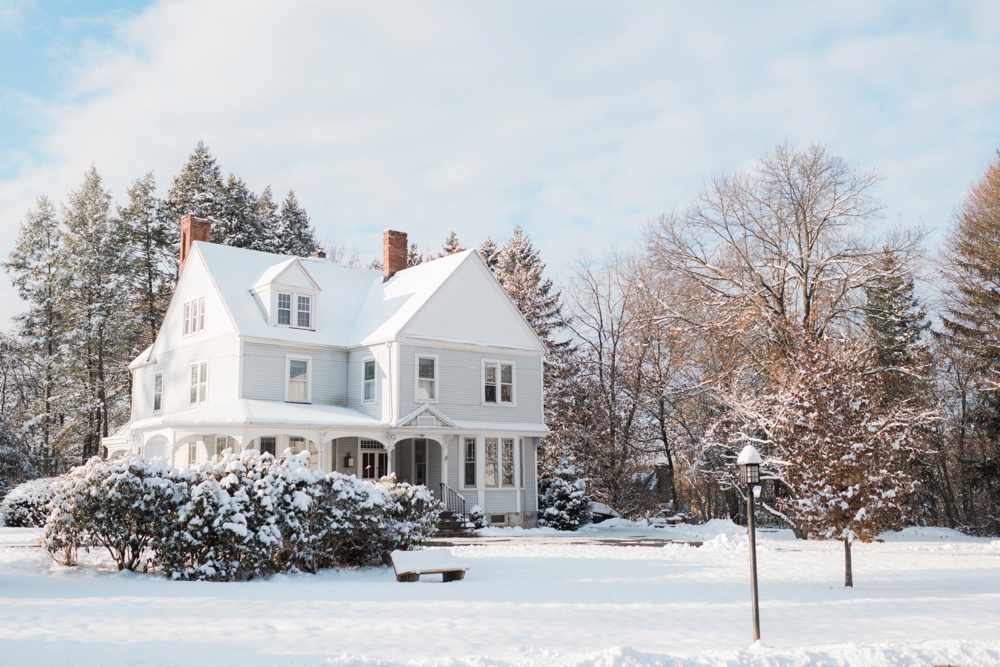
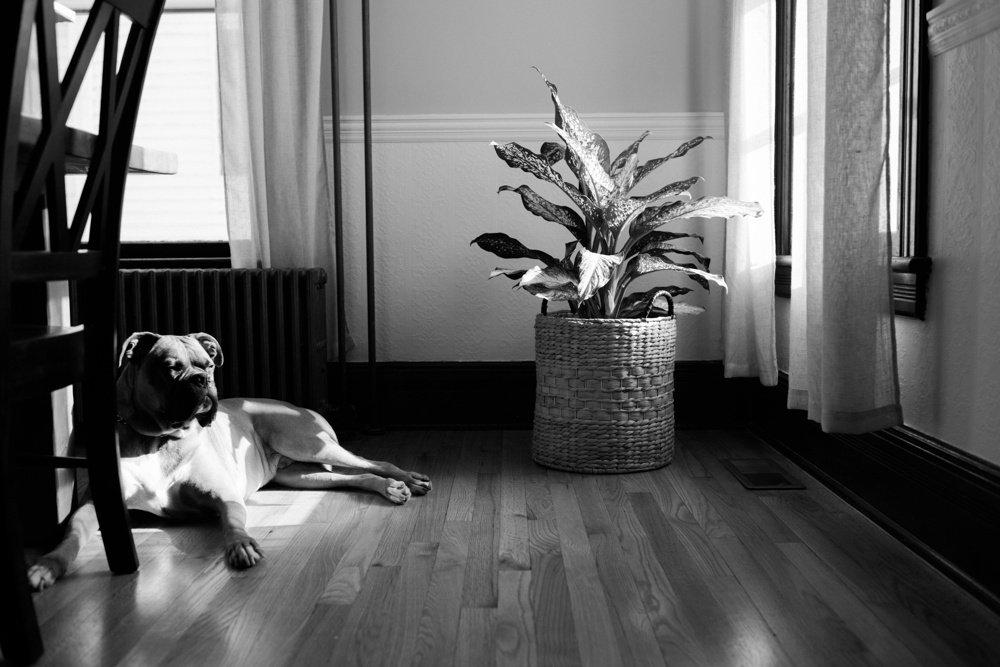
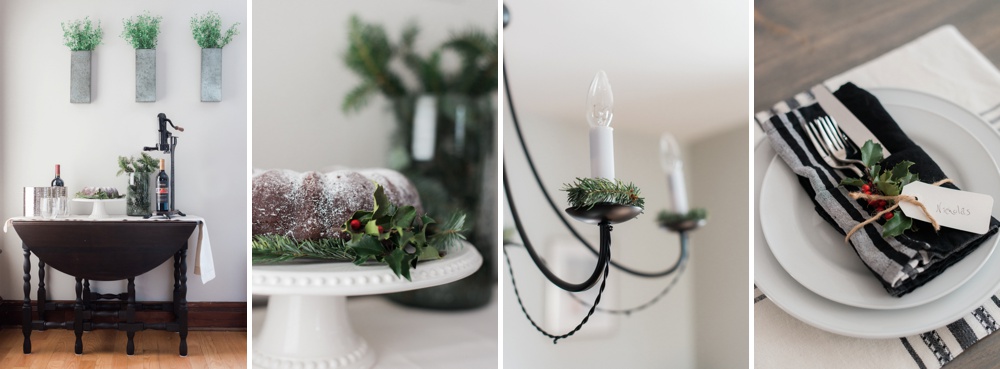
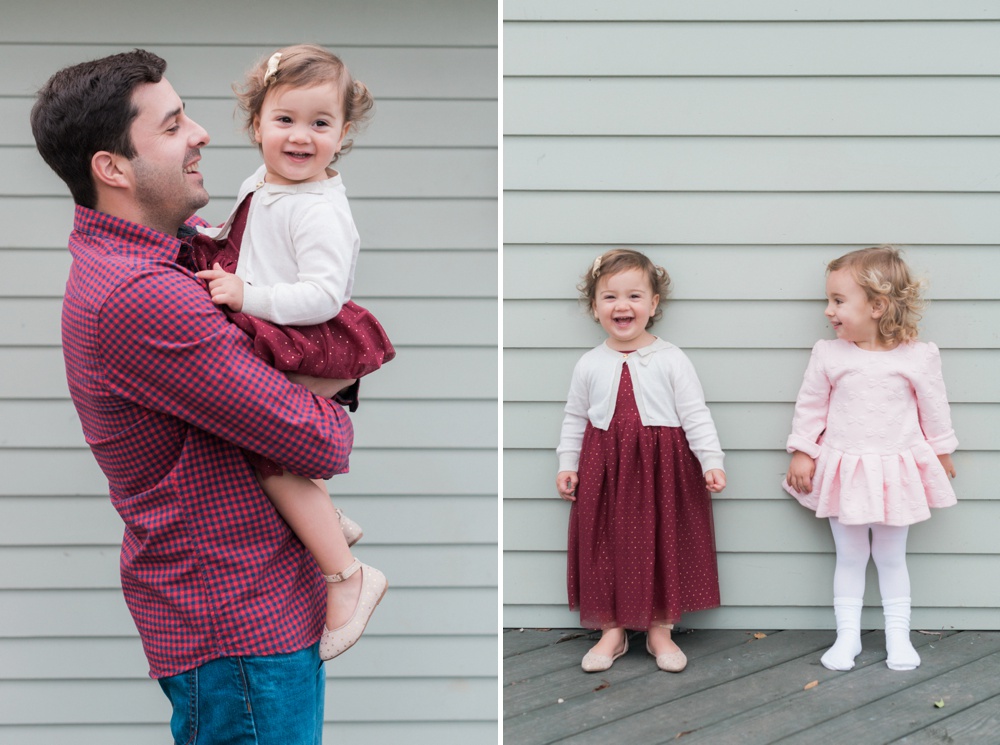
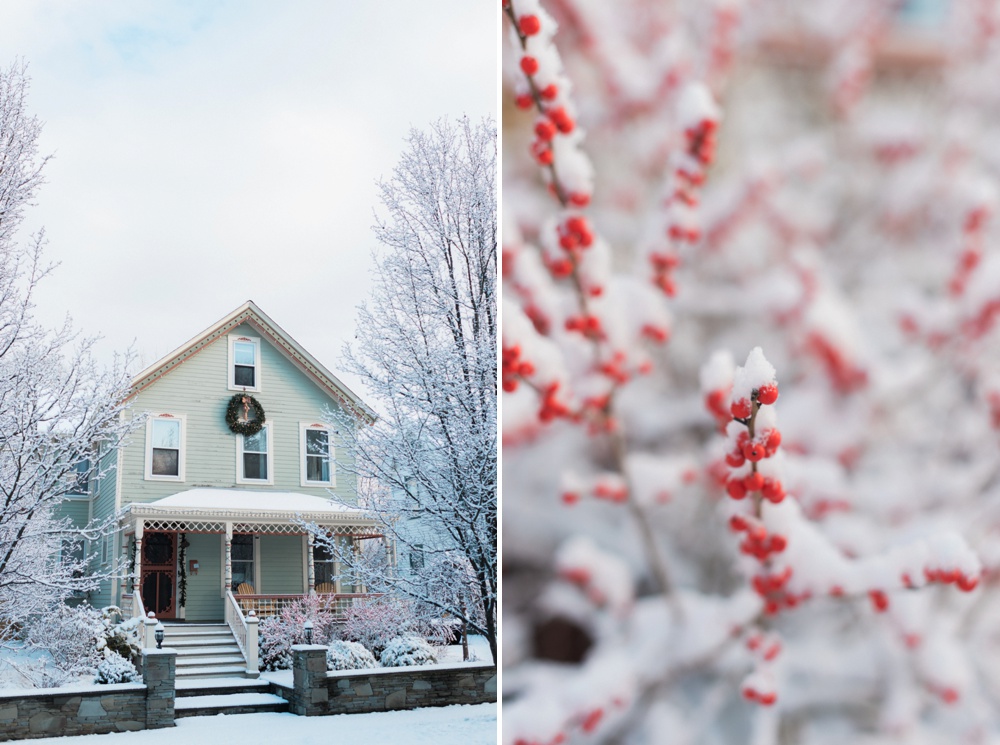
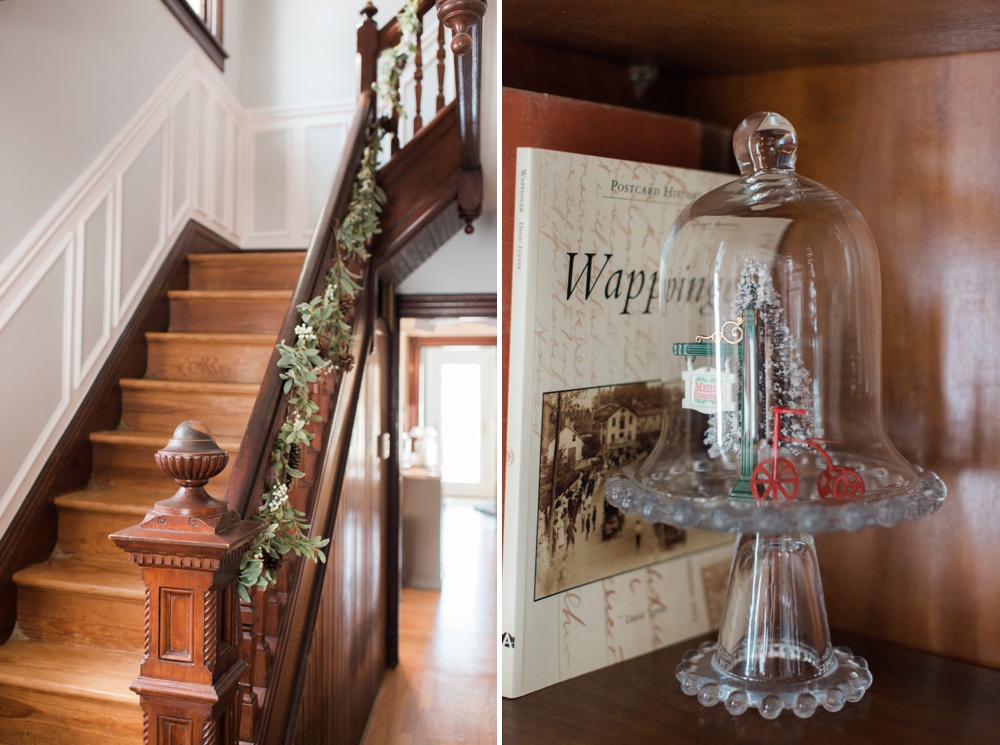
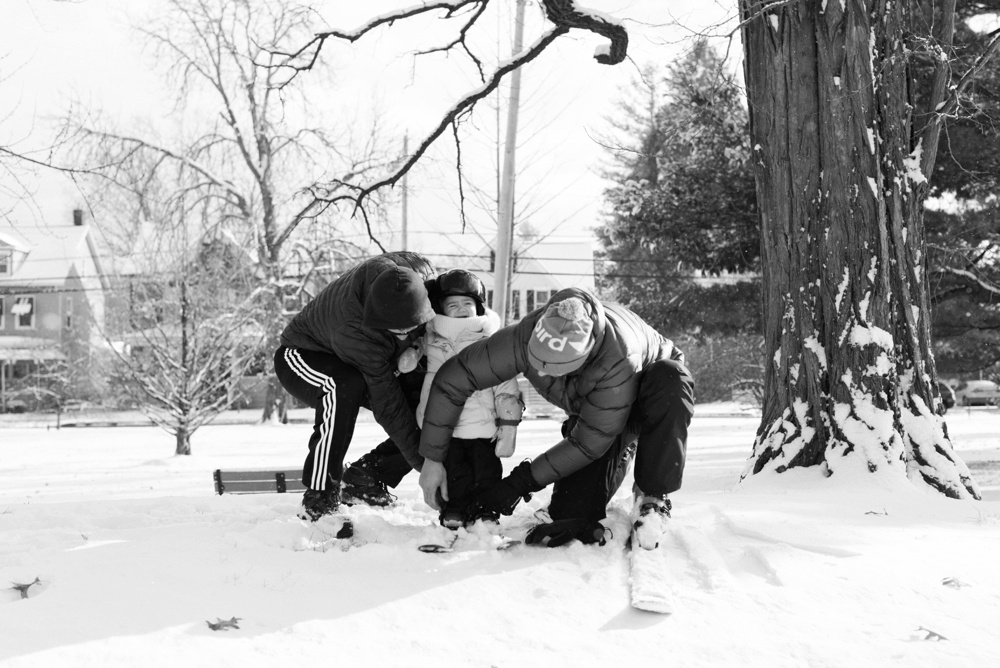
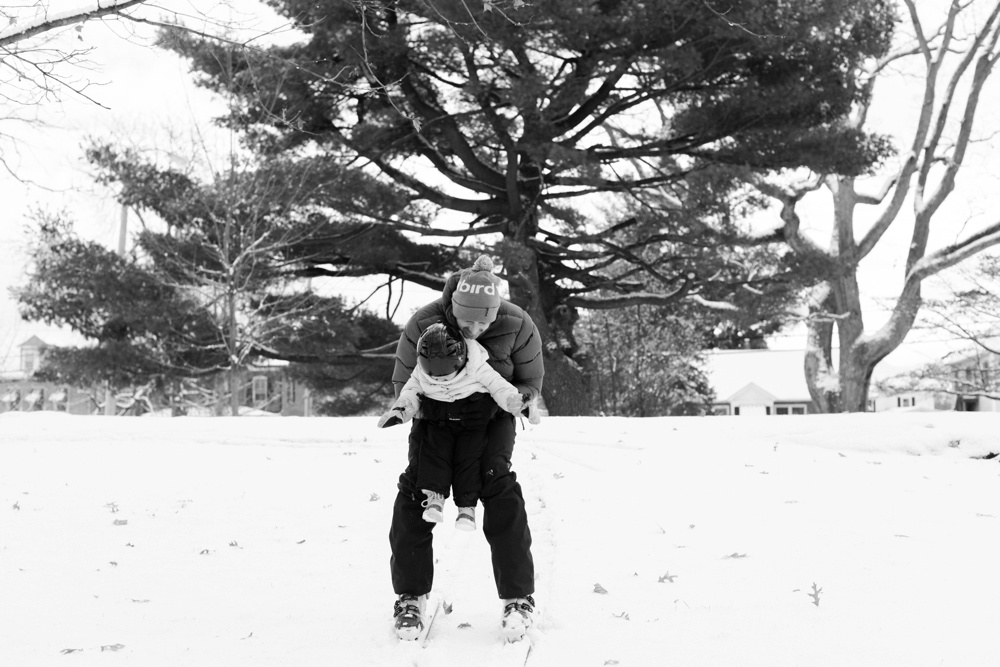
And of course, I can’t end this post without sharing some of my favorite 2017 photographs that made it into this year’s album!


share on:
facebook
twitter
pinterest
/
/